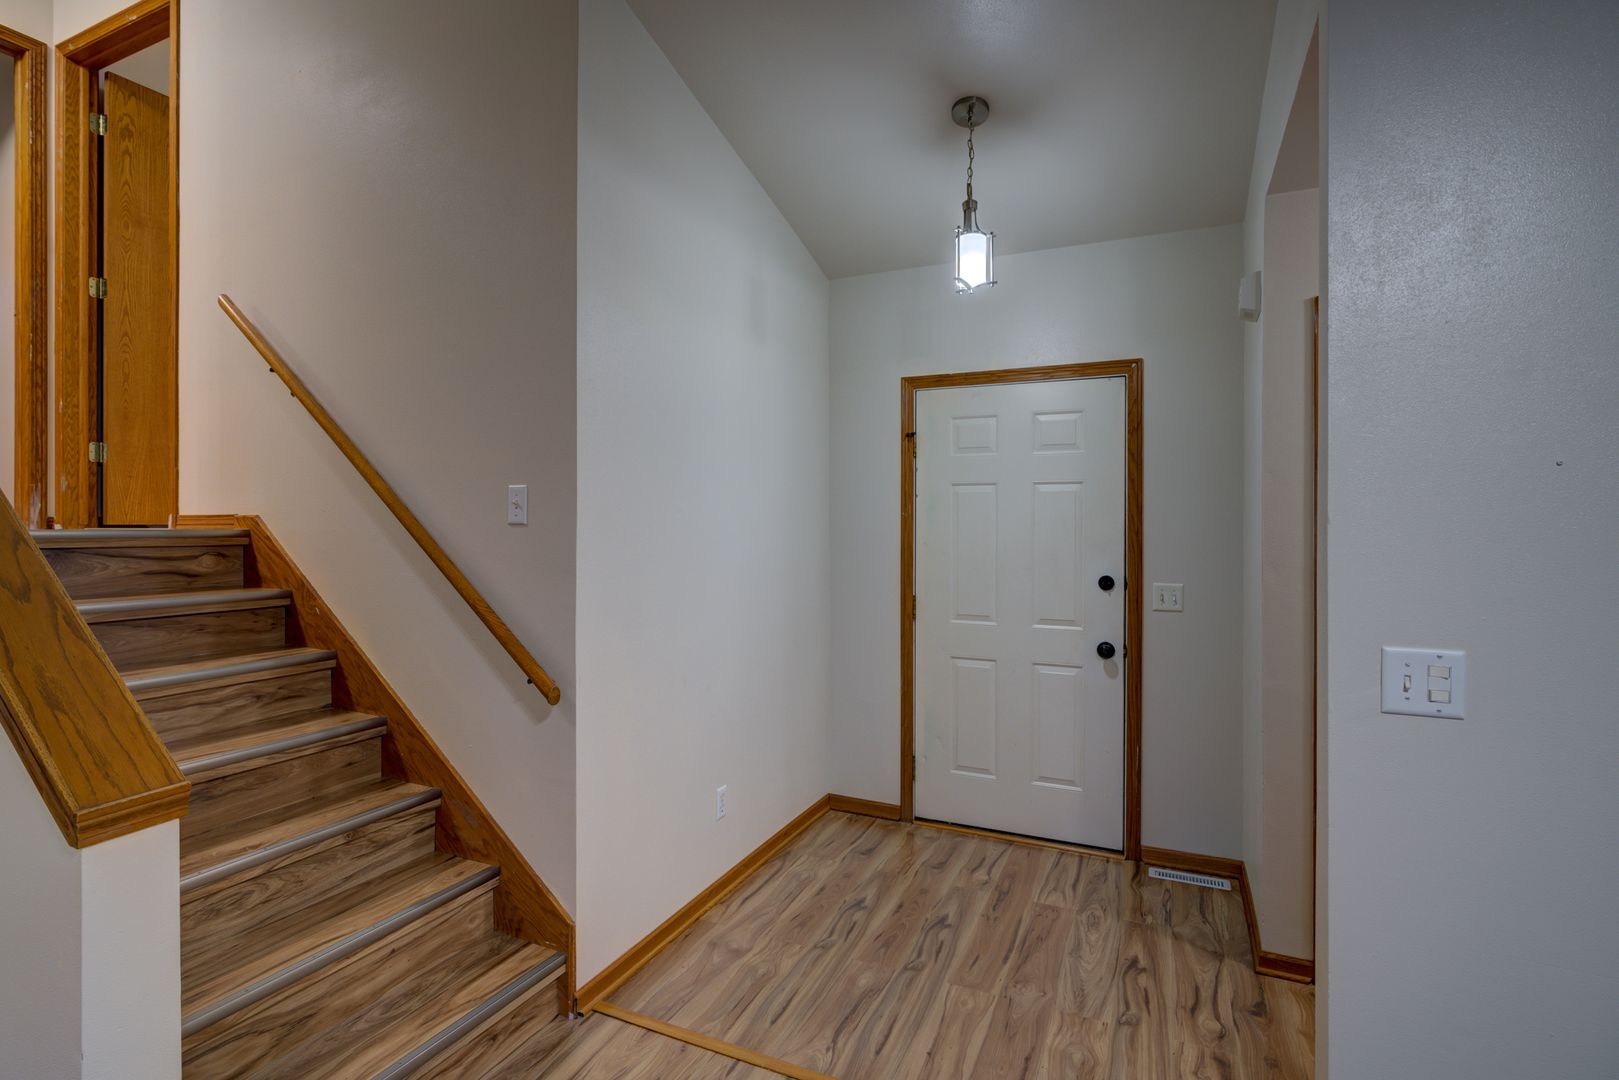
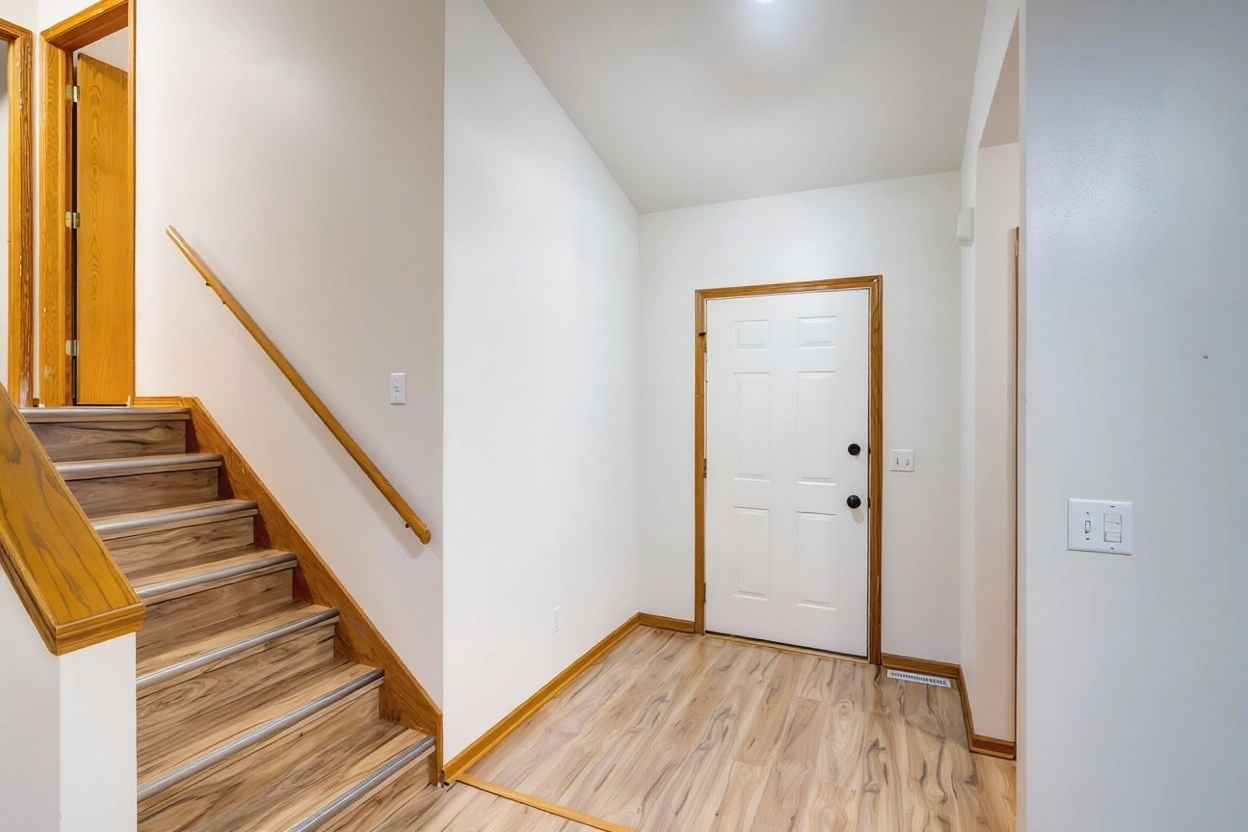
How you add photos to Zillow depends on one thing: whether your home has an active listing or not. Both paths are covered here, along with the upload flow, setting a cover photo, and roughly how long changes take to show up on the live page.
There are two situations that call for different steps, and it's worth knowing which one you're in before you start.
Drop in one of your own photos. We'll enhance it and show you the result before you pay.
No account · No credit card · Results in about a minute
You have an active FSBO listing. If you listed directly on Zillow as a FSBO seller, you typically manage photos yourself. If your listing is synced in from the MLS through a flat-fee service, photo control usually depends on that service's process — some let you upload directly, others route photo changes through the MLS listing itself.
Your home isn't currently listed. Maybe you're not selling right now, or you just moved in and want your Zestimate page to look current. In this case, you claim the home and use Zillow's owner dashboard to upload photos to the home details page — no active listing required.
Before you can upload anything, you need to claim ownership of the home on Zillow. Search your address on Zillow, open the home details page, and look for a "Claim your home" or similar owner-verification prompt, usually found near the Zestimate or under an owner tools menu. Zillow verifies ownership through a short process — this typically involves confirming details tied to the property or your account. Once verified, you'll see an owner dashboard option on that listing going forward.
Once your home is claimed, the upload flow is straightforward:
Most standard image formats (JPEG, PNG) upload without issue. If a photo fails to upload, it's usually a file size or format problem — re-exporting at a smaller size typically resolves it. If you're also syncing the listing to your MLS, our free MLS photo resizer handles the stricter MLS photo size requirements in one pass.
The photo manager typically lets you drag and reorder your uploaded photos. The first photo in that order becomes your cover photo — the image shown in search results and thumbnails before anyone clicks through. This is the single highest-leverage photo decision you'll make, since it's what determines whether someone clicks into your listing at all.
Lead with your strongest, most representative shot — usually a clean exterior photo or the best interior room — and arrange the rest in a logical order that mirrors an actual walkthrough, exterior first, then room by room in the sequence a visitor would experience them.
This varies by scenario, so treat these as general, typical expectations rather than a fixed SLA. For owner-dashboard uploads on an off-market home, changes tend to show up within a few minutes to a few hours. For an active MLS-synced listing, photo updates usually flow through on a periodic sync from the MLS to Zillow, which can take longer — often several hours and sometimes closer to a day, depending on your specific MLS and how frequently it syncs. If a change hasn't appeared after a day, it's worth checking with your flat-fee MLS provider or Zillow support rather than assuming something is broken.
This is the part that confuses a lot of owners, so it's worth explaining plainly. Zillow treats these as genuinely different data sources:
If you're FSBO through a flat-fee MLS service and want to change your photos, check with that service first — some offer a self-service portal for photo updates, others require you to email or submit a request that they push to the MLS on your behalf.
Before you upload anything, it's worth a quick pass to make sure the photos themselves are doing their job. A phone photo straight out of the camera often looks a little dim or color-shifted compared to what you actually saw in the room. Running your photos through light enhancement first — fixing exposure, color balance, and clarity — tends to make a bigger difference to how the listing performs than any amount of reordering or captioning after the fact. FrameLifter does this automatically; you see every photo enhanced before you pay, from $9.99 per listing, no subscription required. For a typical home's photo set, it's a few minutes of work and a few dollars total.
Yes. Once you claim your home, the owner dashboard lets you upload photos to your home's details page even if it isn't actively for sale or rent. This is separate from an MLS-synced listing, and it's the option most owners use to refresh how their home looks on Zillow between sales.
In the owner dashboard's photo manager, reorder your uploaded photos by dragging them — the first photo becomes the cover photo shown in search results. On an MLS-synced listing, the cover photo is usually controlled by the listing agent or brokerage through the MLS feed instead.
Owner-dashboard uploads on an off-market home typically show up within a few minutes to a few hours. MLS-synced active listings usually take longer, often several hours to close to a day, depending on your MLS's sync schedule.
If your listing is synced from the MLS, the photos belong to that MLS record, typically controlled by the listing agent or brokerage — not directly editable through the Zillow dashboard. If you're FSBO and entered the listing directly on Zillow, you generally do have edit access.
Fix exposure, color, and clarity before you upload — the same phone photos, looking noticeably better, in about a minute.
No account · No credit card to start · Results in about a minute