
BY FRAMELIFTER · Updated
HDR Real Estate Photography: Settings, Brackets & Editing
Keep the room and the real view outside the window. Start with usable exposures, merge carefully, and finish with an image that still looks like the property you photographed.
Jump to a section
When a room needs HDR
HDR means high dynamic range. For property photography, it usually means combining several exposures of one composition so a bright window and a darker interior can both retain detail.
Take a test frame and inspect it. If the room is usable but the outdoor view is clipped, try a darker exposure. If that saves the view but makes the room too dark, a bracketed set may help. An evenly lit room may need only one well-exposed photo.
Capture the real view. A window that is pure white in every source does not contain an outdoor scene for an editor to recover. Check the original RAW files where available; if detail is missing, reshoot or capture a darker bracket.
For a phone shoot, start with our iPhone real estate photography guide. Inspect the phone’s finished image, since automatic processing can behave differently from a manually captured bracket set.
Camera settings: a starting point
Use these as a setup to test, then adjust for your camera, lens, and room. Keep the composition, focus, aperture, and ISO consistent across the sequence. Let shutter speed change between exposures.
| Support | A stable tripod; a short timer or remote release to avoid touching the camera during the shot. |
|---|---|
| File type | RAW where available, preserving more flexibility for exposure and color adjustments. |
| Aperture | Try f/8 on a dedicated camera. Check near and far details; the right value depends on the lens and depth of field. |
| ISO | Start at the camera’s base ISO, often 100. A static room and tripod let you use a longer shutter time. |
| Exposure brackets | Start with −2, 0, and +2 EV. Inspect both ends and extend the range if either loses needed detail. |
| Focus & white balance | Set them consistently for the sequence. Refocusing or changing color between frames complicates the merge. |
EV describes exposure stops: a two-stop change makes the exposure four times brighter or darker. In this three-frame example, adjacent frames are two stops apart.
Shoot a bracket set you can actually use
- Prepare the real room. Tidy before shooting, turn off moving fans, and wait for people to leave the frame. Keep the room arranged as it will be shown.
- Level the camera. Compose once and avoid moving it between frames. Check the door frames and vertical edges.
- Capture the sequence. Use auto exposure bracketing if your camera offers it. Check its manual for how it varies exposure and how many frames it supports.
- Inspect the darkest exposure. Look for detail in the brightest area you need, usually the view through the window. Review the histogram and highlight warning, then inspect the file itself.
- Inspect the brightest exposure. The important shadow areas should have useful detail without excessive noise. Add a lighter or darker frame if the set does not cover the room.
Five shots are not automatically better than three. Extra frames are useful when they capture detail the existing set lacks. More frames also mean more opportunities for movement between exposures.
How to merge and edit HDR in Lightroom Classic
- Select the exposures for one composition and choose Photo → Photo Merge → HDR.
- Use Auto Align if there was slight camera movement. Preview the result before accepting the merge.
- Check for doubled leaves, curtains, or other moving objects. Try Low deghosting first when needed; increase it only if the preview improves. Leave it off when there is no ghosting.
- Choose Merge. Lightroom Classic creates a DNG you can continue editing.
Workflow checked October 2, 2026: Adobe’s HDR photo merge instructions.
Then adjust exposure and color while comparing against a source frame. Keep shadows that explain the shape of the room. Look at bright trim, neutral walls, wood, and the outside view separately; making every surface equally bright usually flattens the space.
Before exporting, inspect edges at full size and the whole image at thumbnail size. Both matter: tiny artifacts may be visible in the gallery, while an overprocessed tone can be obvious even in search.
Fix the common HDR problems
| Problem | What to try |
|---|---|
| Halos at windows | Reduce strong local contrast or masking near the frame. Inspect the transition between bright exterior and interior wall. |
| Double edges or leaves | Review alignment and deghosting. If motion is extensive, use a cleaner source frame for that area or reshoot. |
| Gray, flat room | Back off extreme shadow lifting. Preserve a natural difference between highlights, midtones, and shadows. |
| Orange or blue surfaces | Check the original materials and mixed light sources. Avoid forcing warm wood or a naturally colored wall to neutral gray. |
| View looks pasted in | Check that it comes from the same camera position and real view. Keep its brightness plausible relative to the room. |
Bracketed HDR or an edit of one photo?
Use bracketed HDR when a single exposure cannot hold the scene’s useful brightness range. Use an edit of one photo when the detail is already present and the image mainly needs a better exposure or color balance.
The comparison below shows an edit of one photograph: brighter lighting, an organized coffee table, and tidied cushions and throw, with the existing area rug retained. It is a single-photo enhancement example. A bracketed merge uses multiple captured exposures.
If you already have brackets, merge them in your HDR software and export an image first. Then you can compare a FrameLifter preview to that exported image. Keep the original set so you can revisit the merge.
For photos that mainly look dim, see how to brighten dark real estate photos. For a finished MLS batch, use the free MLS photo resizer to fit your board’s size limits while preserving the full frame.
GIVE YOUR LISTING A BETTER FIRST LOOK
See what is already in your photo.
Try a free edit of one existing photo or a finished HDR export. Compare the lighting and color, and check that the room and its window view remain faithful to your original.
Free watermarked preview · No account or credit card needed.
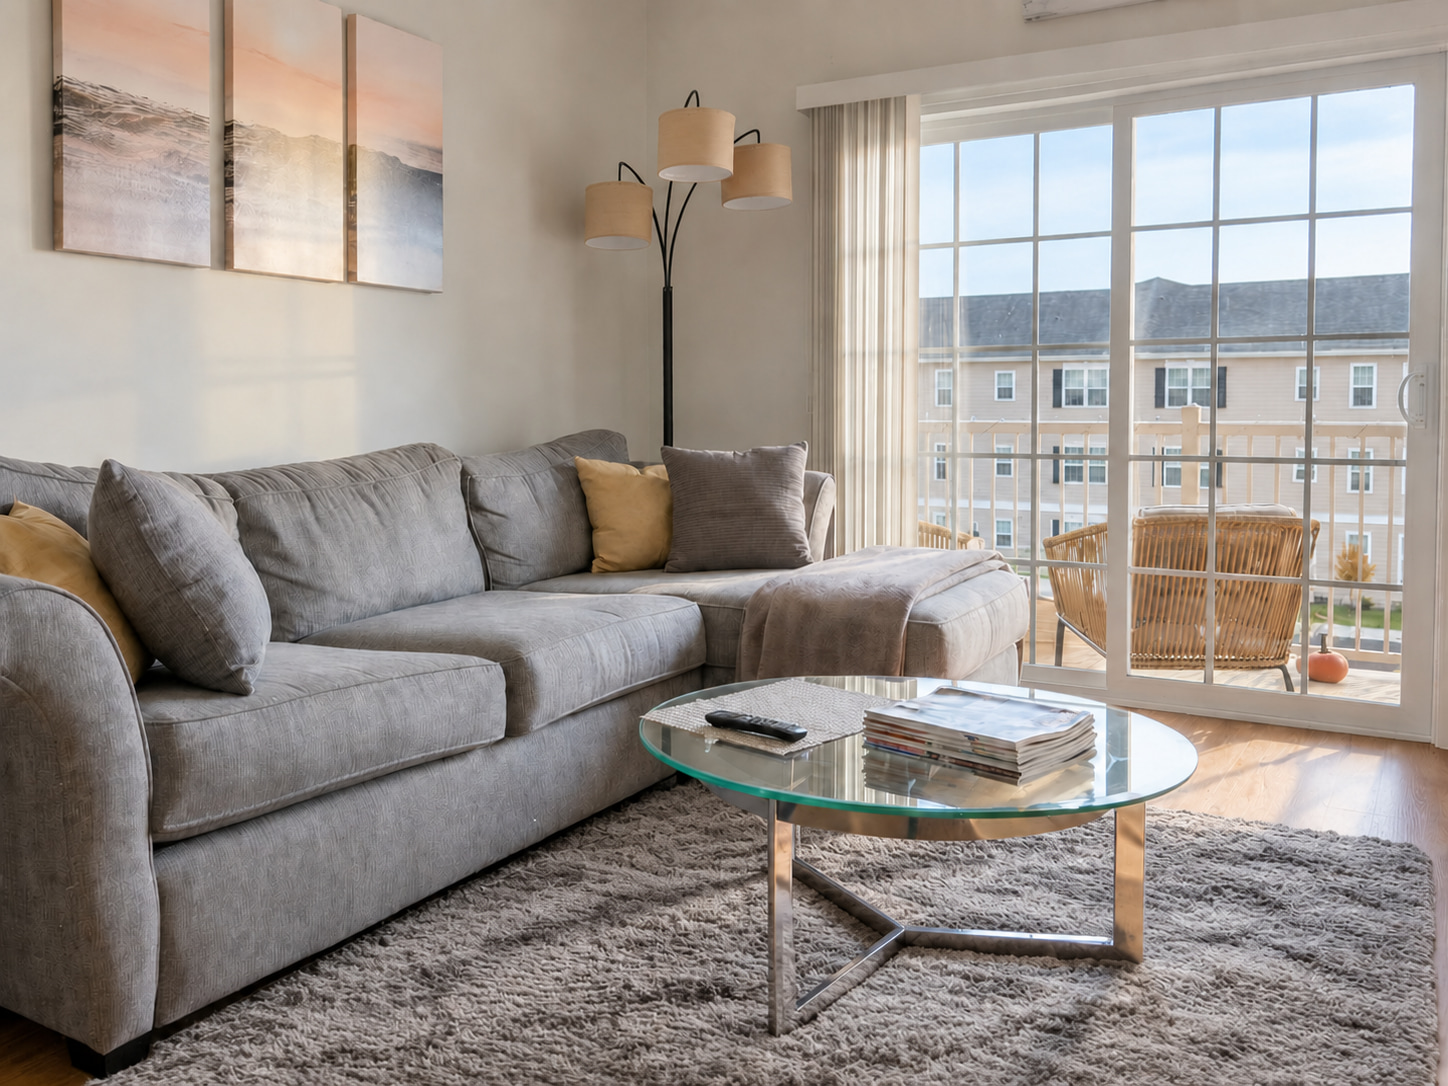
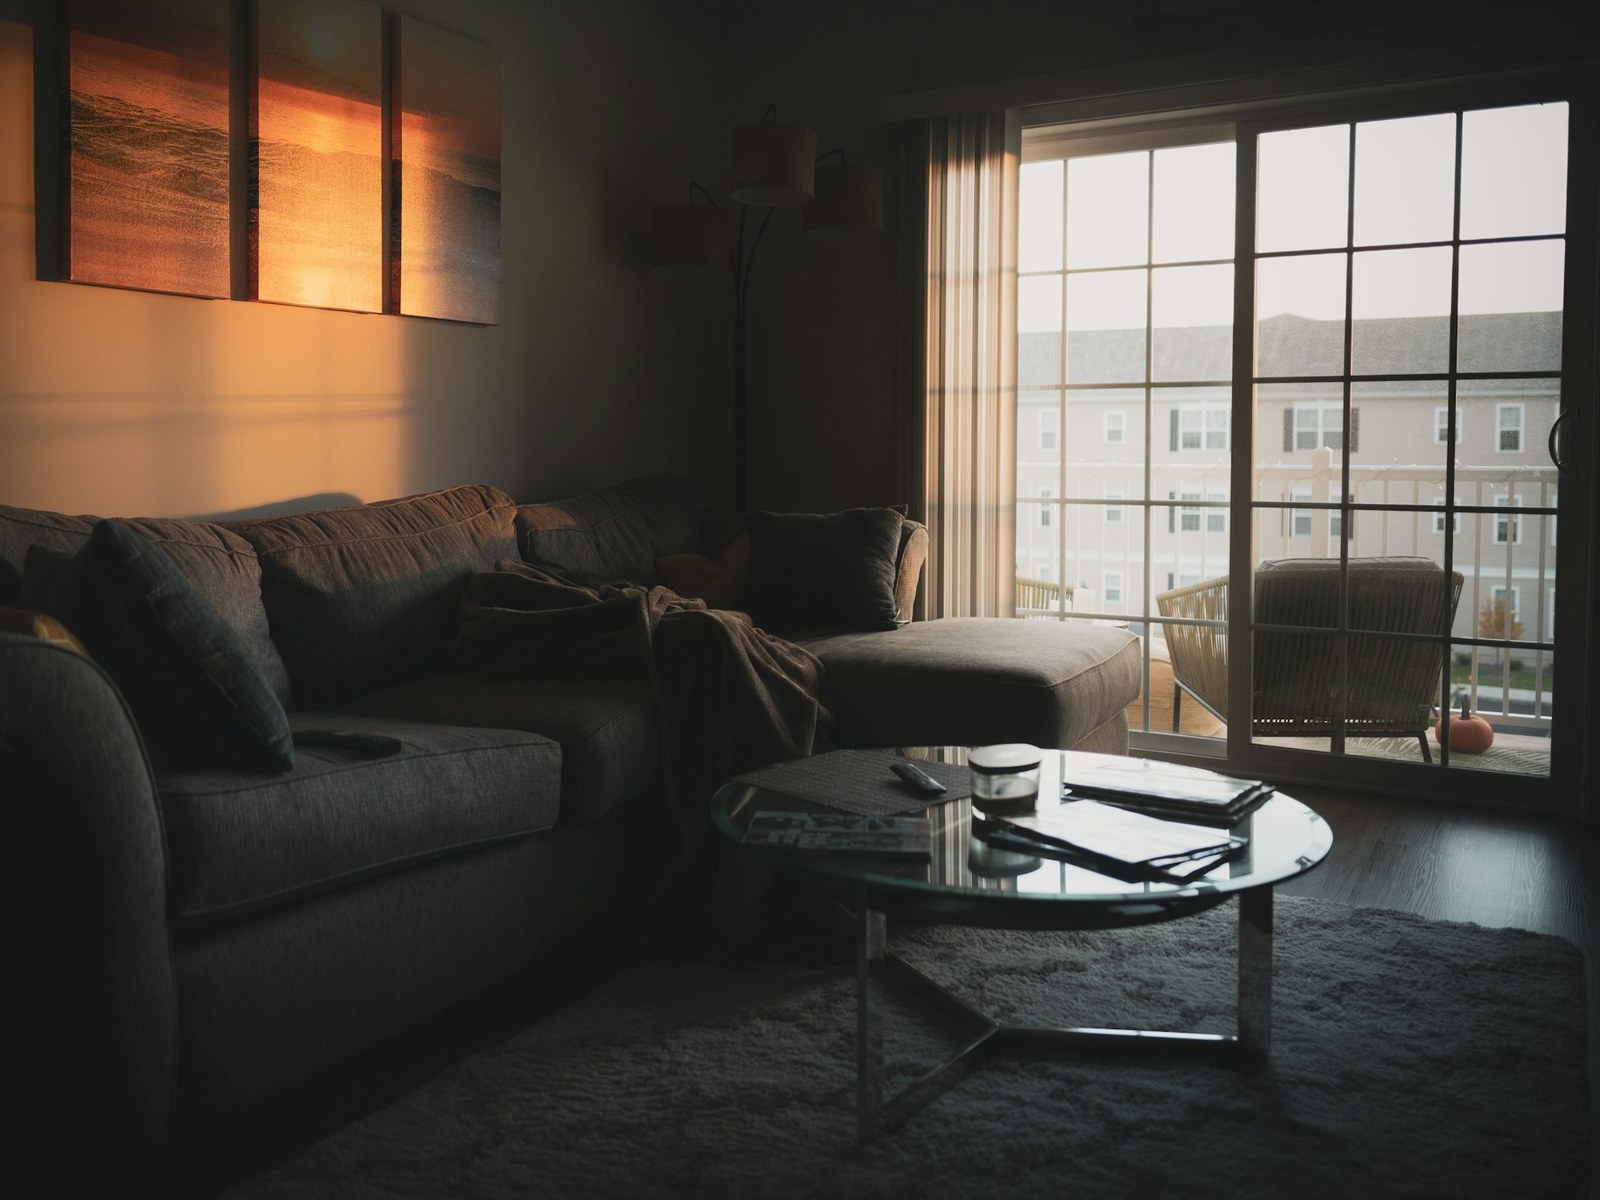
What we changed
- Brightened & balanced lighting
- Decluttered the coffee table
- Tidied pillows & throw
- Preserved the rug & window view
Drag to compare the edit. Explore more examples. Review your own edit before publishing.
Frequently asked questions
How many brackets should I shoot for real estate HDR?
Start with three exposures at −2, 0, and +2 EV, then inspect the files. You need a dark frame with real highlight detail and a bright frame with usable shadow detail. Add exposures if the scene exceeds that range; the room determines the bracket count.
Can HDR fix a completely white window?
Only if another exposure captured the missing view, or the original RAW file still contains recoverable highlight detail. If the view is clipped in every source, accurate editing cannot recover it. Capture a darker exposure or reshoot in more manageable light.
Does FrameLifter merge exposure brackets?
The preview on this page edits an individual photo. If you have a bracketed set, merge it in your HDR software first and export a finished image before trying the FrameLifter edit.
Is HDR the same as flash photography?
No. HDR combines exposures to cover a wider brightness range. Flash adds light during the shoot. A photographer may use either technique or combine them, depending on the room, reflections, color, and the result needed.