
PHOTO PREP GUIDE · Updated October 5, 2026
Vrbo photo size & requirements.
Vrbo specifies a 1024 × 683 px minimum and at least six unique published photos. Its current guide accepts vertical photos while recommending horizontal, and lists updated file formats.
| Minimum dimensions | 1024 × 683 px. |
|---|---|
| Best-quality guidance | 3840 × 2160 px or higher, when available in the original. |
| File size | No byte limit is stated in the current cited guide. Check your uploader or integration. |
| Formats | JPEG, PNG, WebP, AVIF or SVG in the current guide. |
| Orientation | Horizontal displays best; vertical is accepted. |
| Published photo count | At least 6. Vrbo warns that staying below 6 for more than 30 days can lead to suspension. |
Sources checked October 5, 2026: Vrbo Help: photo guidelines.
GIVE YOUR LISTING A BETTER FIRST LOOK
Right size. Now bring out
the best in your photo.
Brighten a dim room and balance the color while keeping the property faithful to the original. Compare a free AI edit of your own photo before you decide.
Free watermarked preview · No account or credit card needed.
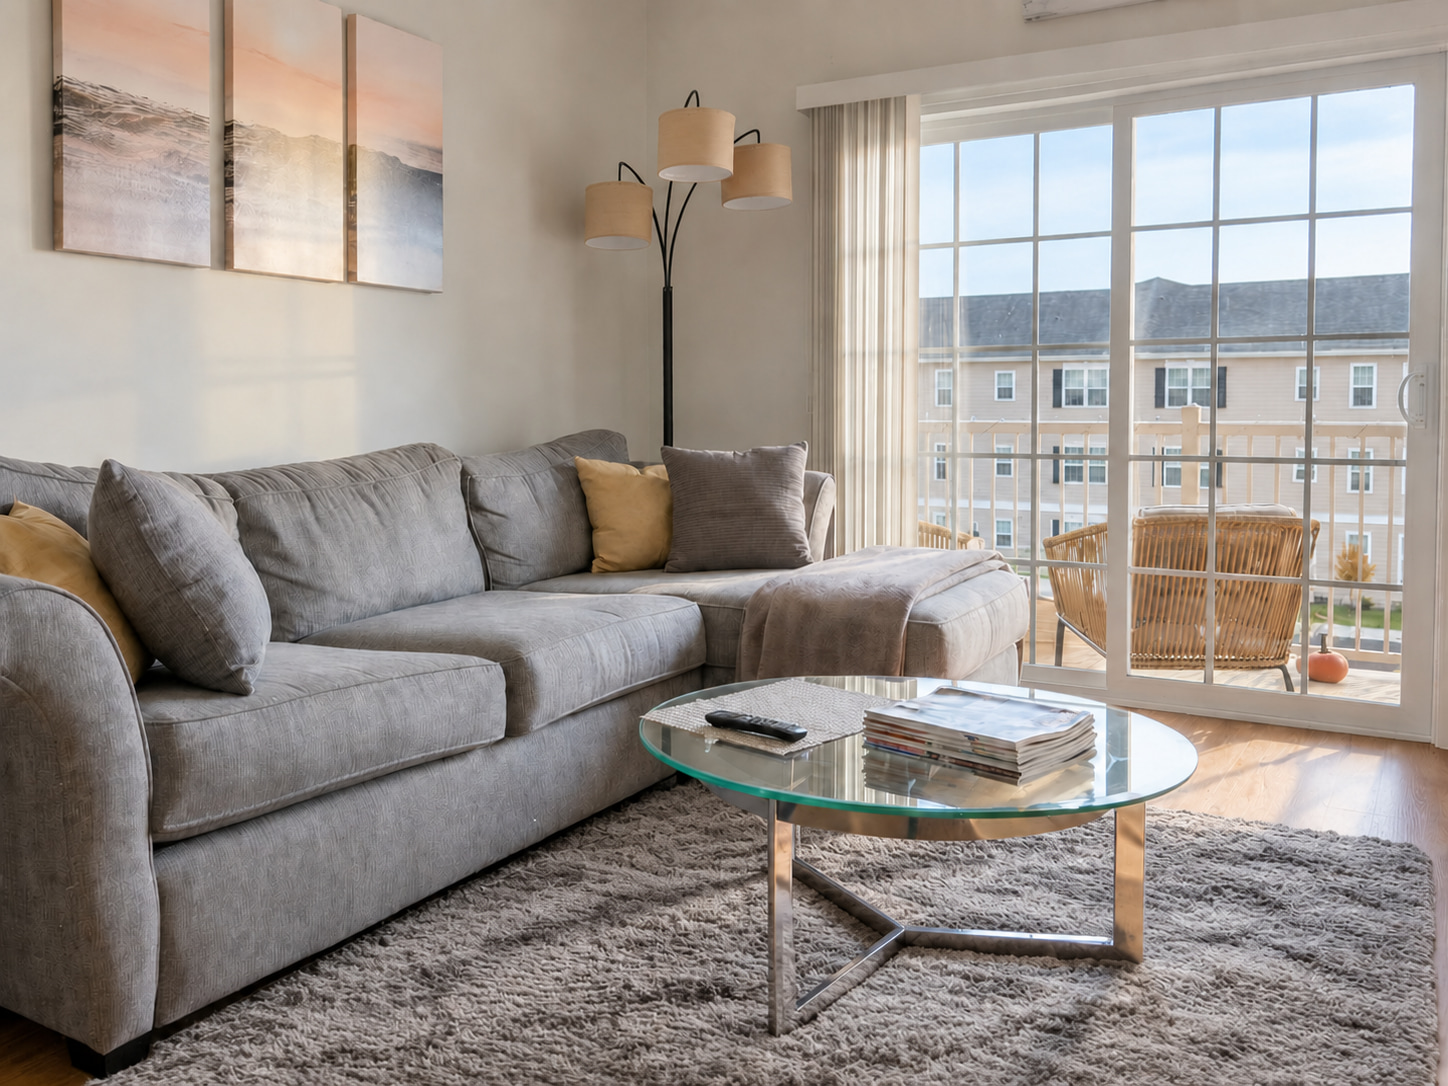
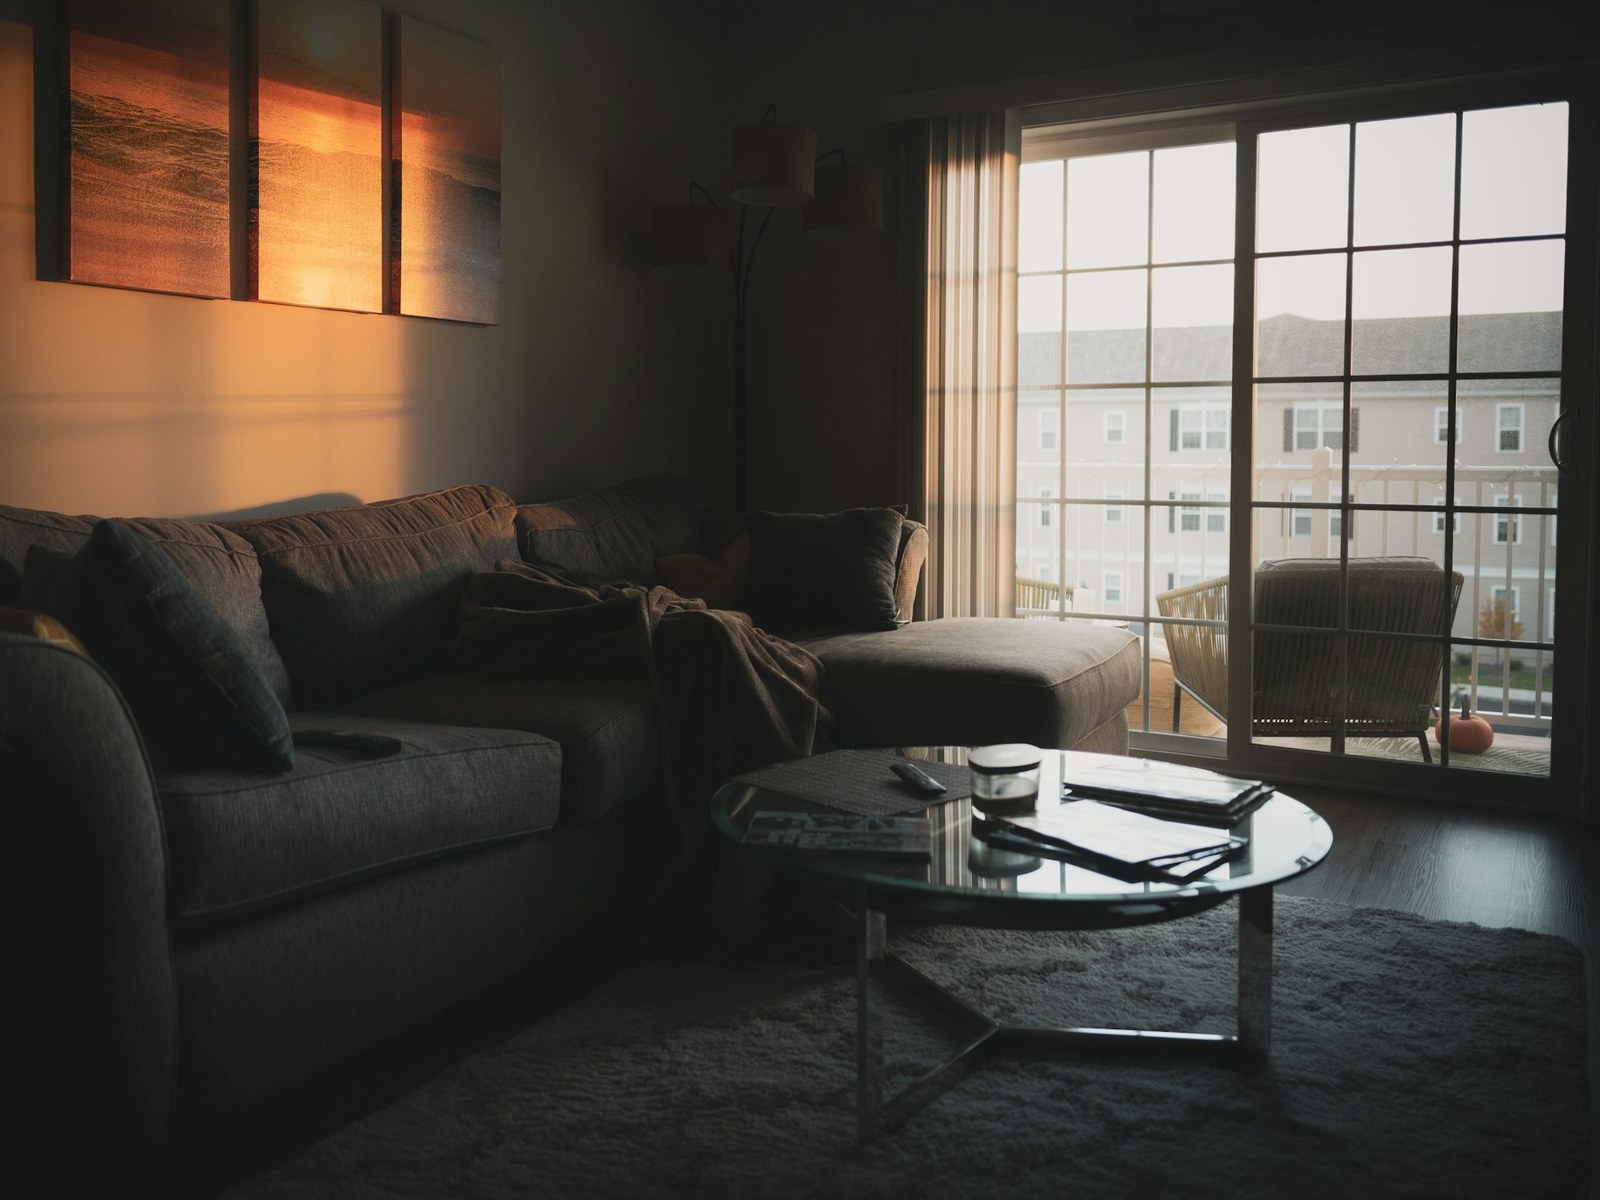
What we changed
- Brightened & balanced lighting
- Decluttered the coffee table
- Tidied pillows & throw
- Preserved the rug & window view
Drag to compare the edit. Explore more examples. Review your own edit before publishing.
Minimum size and recommended size are different
1024 × 683 px is the published minimum. Vrbo’s best-quality guidance is 3840 × 2160 px or higher. Keep a large, sharp original when you have one; do not enlarge a tiny image just to imitate the recommended resolution.
Your picture does not need to be forced into a 16:9 crop simply because the best-quality example uses those dimensions. Preserve the room’s proportions and inspect the displayed crop. Check the dimensions after cropping and any limits shown by your uploader.
Prepare a JPEG and check the exported file
If the uploader rejects a file as too large, export a smaller JPEG while retaining adequate dimensions. Inspect details such as curtains, tile, and foliage after compression. Reduce gradually rather than sacrificing clarity in one large step.
Our Vrbo resizer center-crops to a 16:9 export preset and does not upscale. Inspect what the crop removes. A small source can still export below the minimum dimensions; check the download size and dimensions before publishing.
Phone HEIC and camera RAW are not in Vrbo’s listed upload formats. Our resizer converts HEIC and HEIF to JPEG on your device. For camera RAW, export a JPEG from your photo app or use FrameLifter’s separate enhancement uploader for supported originals.
Why a Vrbo photo may be rejected
Check technical causes first: insufficient dimensions, an unsupported format, a damaged file, or an error reported by your uploader. Exporting a fresh landscape JPEG can help identify a file-specific problem.
Content matters too. Vrbo lists problems including promotional text or graphic overlays, collages, duplicate photos, and blur. Do not place your business logo or contact details on listing images. Review the official guidelines for the full list.
The dashboard identifies rejected photos under the property’s photo editor. If you use integrated property-management software, check its integration errors. Vrbo says changes may take up to 10 minutes to appear on the guest-facing site for direct platform updates; software integrations can behave differently.
Build a complete gallery, not six filler photos
The six-photo requirement is a floor. Add enough distinct images to explain the property: exterior, living area, each bedroom, bathrooms, kitchen, outdoor areas, and guest amenities. A studio and a large house need different coverage.
Vrbo specifies categories for multi-unit properties: one exterior, one interior or lobby, three guestroom photos, and one bathroom. Check those categories as well as the overall count if that applies to your listing.
Choose a first photo that represents the stay clearly. Keep a wide view near the beginning, then let room groups explain the layout. Replace outdated amenities and seasonal shots when they no longer reflect the property.
Fix lighting before the final resize
Keep the largest original while you edit. Brightening a dim interior or correcting a strong color cast is a separate task from fitting an upload-size limit. Resize the finished result once, after you are happy with the image.
Review the enhancement beside the original. Check that furniture, windows, surfaces, and amenities remain accurate. Retake a blurry or badly obstructed photo; a larger export cannot create the missing source detail.
Frequently asked questions
What are the Vrbo photo requirements?
The current guide lists JPEG, PNG, WebP, AVIF or SVG and a 1024 × 683 px minimum. Horizontal is preferred; vertical is accepted. Vrbo recommends 3840 × 2160 px or higher and requires at least six unique photos.
Does Vrbo accept portrait photos?
Yes. The current guide accepts vertical orientation while saying horizontal displays best. Inspect the published crop and keep the room accurately represented.
Can the resizer guarantee acceptance?
No. It changes dimensions and JPEG compression, but cannot verify all platform content rules, restore focus, or add missing detail. Review the exported file and the published guidelines.