
BY FRAMELIFTER · Updated
Rental Listing Photos: A Landlord's Guide to Filling Vacancies Faster
You're not staging a magazine shoot. You're trying to get a qualified tenant into a unit before it sits empty for another month. Here's what actually moves the needle on rental photos — what renters screen for on Zillow and Apartments.com, how to shoot an occupied unit versus an empty one, and where a quick AI pass saves you time you don't have.
A CLOSER LOOK · FRAMELIFTER
See what a useful edit changes.
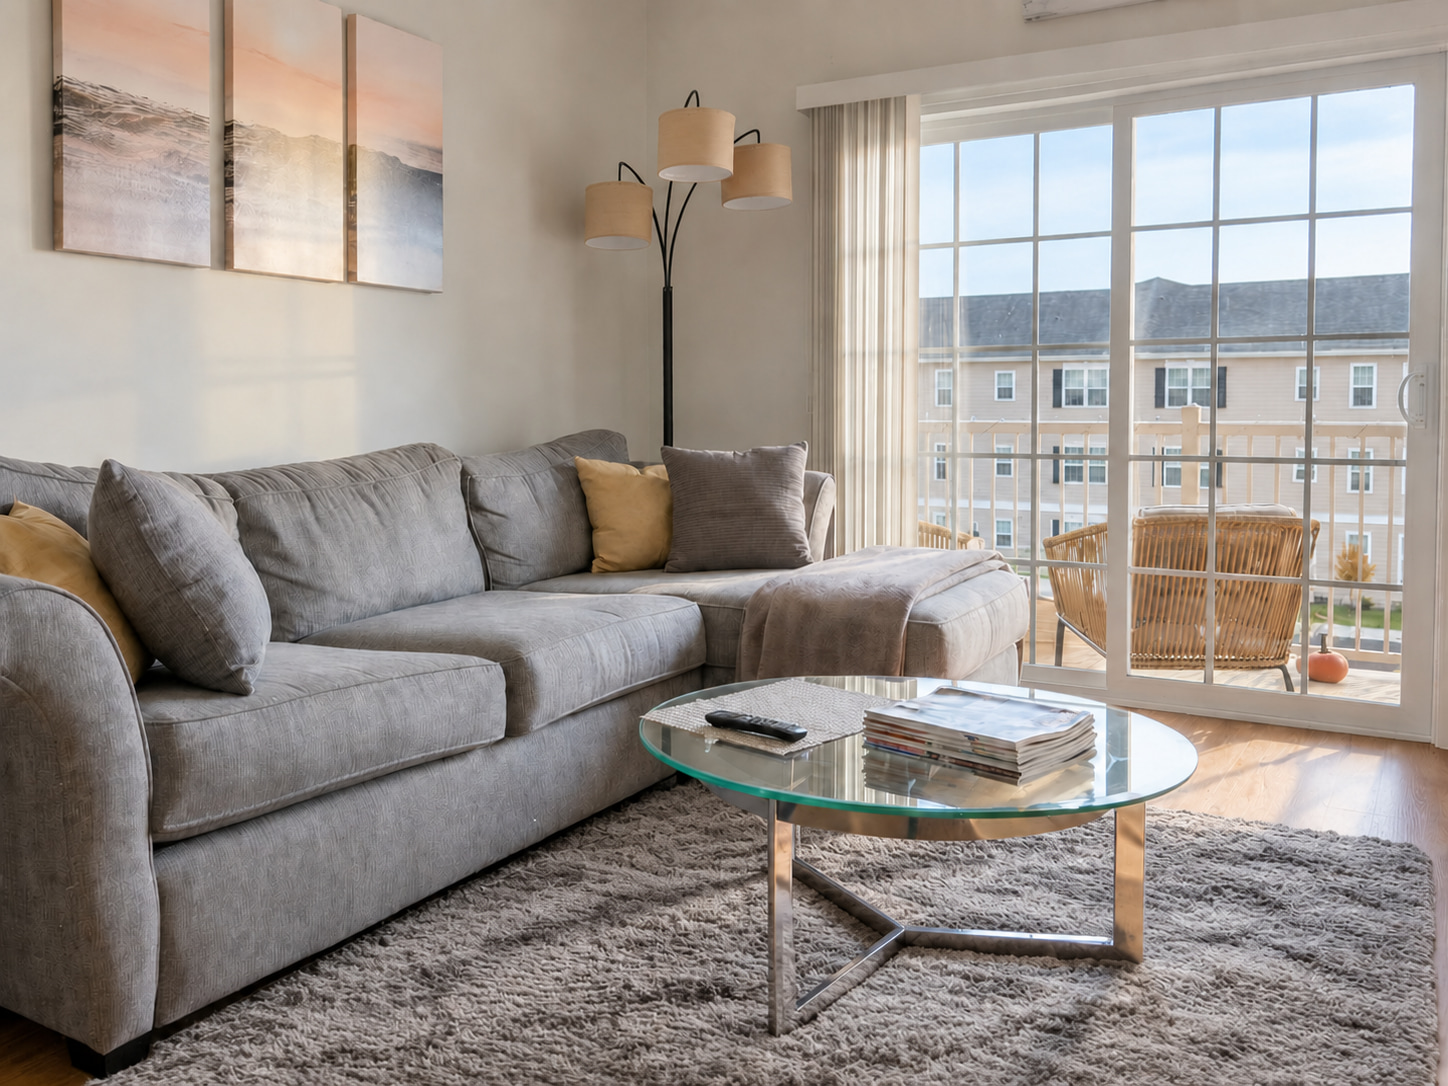
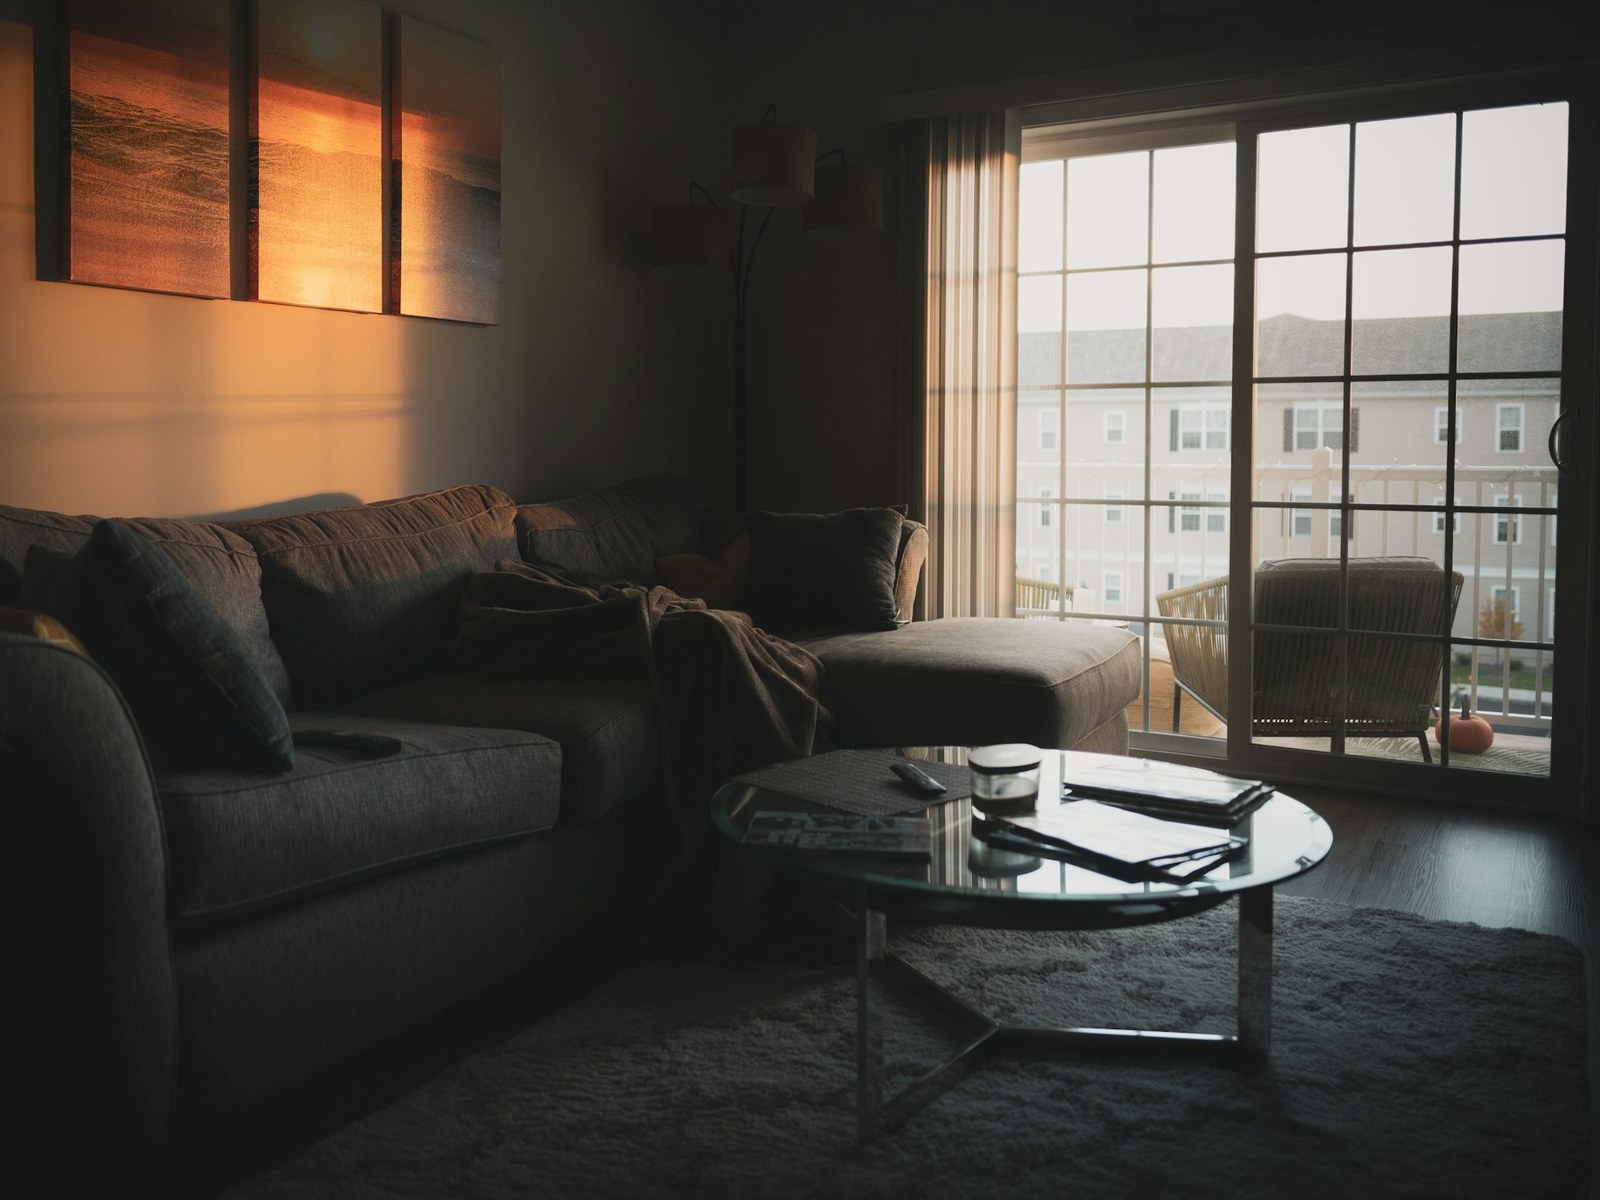
Compare the light on the sofa, the wall color, and the detail around the patio doors. This example also includes tidying; a lighting correction and a cleanup are different tasks.
- A brighter room with readable shadows
- Neutral color without washing out the materials
- Review furniture, surfaces and the outside view
Free watermarked enhancement preview. No account or credit card needed.
Jump to a section
Help renters understand the unit before a tour
Build a gallery that lets someone understand the layout, room sizes, finishes and access. A strong cover invites a closer look, while complete room coverage helps people decide whether to inquire.
Do not treat missing photos as a way to avoid showing a limitation. Show the actual unit and use captions for shared spaces, stairs and features a photograph cannot fully explain.
What Renters Actually Screen For
Across the rooms in your unit, a few specific things get scrutinized more than others:
- Kitchen: counter space, whether appliances look current, and whether there's visible storage (cabinets, pantry). Shoot from a corner to show the full counter run, not a straight-on shot of just the stove.
- Bathroom: cleanliness reads instantly in a photo — water spots, grime in grout lines, and old caulk all show up worse in a photo than in person because the renter is zooming in on their phone. Wipe down surfaces and remove personal toiletries before you shoot.
- Bedroom size: renters are trying to figure out if a queen bed and a dresser actually fit. Shoot from the doorway or the corner farthest from the door to capture the full floor space, not a tight shot that hides the room's real dimensions.
- Natural light: this is a genuine differentiator between otherwise-similar units, and it's the easiest thing to get wrong in a photo. Shoot during the day with blinds and curtains open. A well-lit unit photographed badly looks worse than a dim unit photographed well, which is the whole problem this guide is about.
Shooting an Empty Unit vs. an Occupied One
Empty unit
An empty unit is easier to shoot but harder to make feel like a home. Without furniture as a reference, the size can be hard to judge from a photograph. If the unit is empty and will stay empty through the listing period, consider a few pieces of stand-in furniture in the main bedroom and living room, or note room dimensions in the listing description so renters aren't guessing. If buying or renting furniture for a shoot isn't worth it for a single unit, AI virtual staging can furnish those same empty rooms digitally instead.
Occupied unit
If the current tenant is still living there during the re-listing window, you're shooting around their stuff. Ask them directly, with notice, to clear kitchen counters, dining tables, and floors before your shoot window — most tenants will cooperate if you give them a specific time and a short list. Avoid photographing personal items visible in frame (mail, medications, photos of people, laundry) — it's both a privacy issue and it makes the listing look messier than it is.
If the occupied unit still looks cluttered or dark despite asking, it's usually faster to wait and shoot after move-out than to fight a losing battle with someone else's furniture arrangement. Choose the shoot time that lets you show the actual condition clearly, and keep any required tenant notice and consent arrangements in place.
Phone-shooting tips you can repeat
At each room
0 of 6Decluttering an Occupied Unit Fast
You usually don't get hours to stage someone else's home. A focused 15-minute pass before shooting covers most of what matters: clear kitchen counters down to maybe one or two items, clear dining and coffee tables completely, make the bed in any bedroom you're photographing, close closet doors, and put shoes and bags out of entryway shots. Clear the bathroom counter and shower ledge of personal products, with the occupant’s agreement.
You don't need to remove all personality from the space — a lived-in unit with tidy surfaces reads as well-maintained, not staged. The goal is removing visual noise, not erasing that someone lives there.
Correct exposure without misrepresenting the room
A dim source may contain detail that an exposure and color edit can make easier to see. Check shadows for noise and keep bright windows under control. More brightness is not always better: washed-out floors and glowing walls make materials harder to judge.
Retain the room’s character and actual condition. If the source is blurred or an important view is completely clipped, reshoot. The dark-photo guide explains the difference.
Picking the Cover Photo
The cover photo is doing a different job than every other photo in the gallery — it's a thumbnail competing against a dozen other thumbnails in a search grid, not a full-size image someone is studying. Pick your brightest, widest shot of the living room or kitchen, whichever is the stronger of the two. Avoid a bathroom, a hallway, or an exterior shot as the cover unless the exterior is a genuine standout (a house with real curb appeal, for instance) — renters browsing rental listings are comparing interior square footage and finish quality first. If you're posting to Facebook Marketplace, that thumbnail gets cropped to a square — see the Facebook Marketplace photo size guide to keep the crop from cutting off the wrong part of the shot.
Order the rest of the gallery to follow how someone would actually walk through the unit: entry, living room, kitchen, bedrooms, bathrooms, then any amenities like in-unit laundry or parking. A scrambled photo order makes the unit harder to mentally map, which adds friction even if every individual photo is fine.
How Many Photos to Include
10 to 20 photos is the practical range for a standard rental. Cover every room once, the kitchen from two angles if it's a selling point, and both bathrooms if there are two. Check for missing rooms and access details rather than aiming at an arbitrary minimum. More than 20-25 near-duplicate angles doesn't add information, and some renters will bounce out of a bloated gallery before reaching the photo that would have sold them.
Where FrameLifter fits into a turnover
Choose your sharpest originals, upload a candidate to FrameLifter and compare the free watermarked standard enhancement. Check exposure, color, surfaces, furniture and views. Purchase finished downloads only if the result suits the listing.
Optional staging can illustrate an empty long-term rental, but it must be identified as digital furniture and meet the destination’s rules. A furnished short-term rental should show what guests actually receive. Temporary-clutter cleanup is a separate choice; it should not disguise condition or damage.
For recurring listings, keep originals, finished files and the date of the shoot organized by property. FrameLifter for property managers explains the editing workflow.
Frequently asked questions
How many photos should a rental listing have?
Start with complete coverage rather than a fixed count. A typical small rental might use around 10–20 distinct images, but the useful number depends on rooms, layout and amenities. Check the destination’s requirements and remove repeated angles that add no information.
What should the cover photo of a rental listing be?
Your brightest, widest living room or kitchen shot — whichever is stronger. It has to work as a small thumbnail in a search grid, so avoid bathrooms, hallways, or weak exterior shots as the cover.
Should I photograph a rental while it's still occupied?
You can, if the tenant clears counters and floors first and you shoot in daylight. A cluttered occupied unit usually photographs worse than a clean empty one — if decluttering isn't realistic, wait until move-out.
Can I just use my phone for rental listing photos?
Yes, for most standard rentals. Shoot landscape, during the day, with all lights on. Light and clutter matter far more than the camera itself.
Will better photos help me rent out an overpriced unit?
No. Photos drive clicks and applicant volume on a fairly-priced unit — they don't fix a unit priced above what comparable units are actually leasing for.