
BY FRAMELIFTER · Updated
How to Fix Dark Real Estate Photos (Without Buying Gear)
Dark listing photos usually come from the same handful of causes — lights left off, a window the camera exposed for instead of the room, or a handheld shot in low light. Here's how to stop it happening at the shoot, and how to rescue photos that are already too dark.
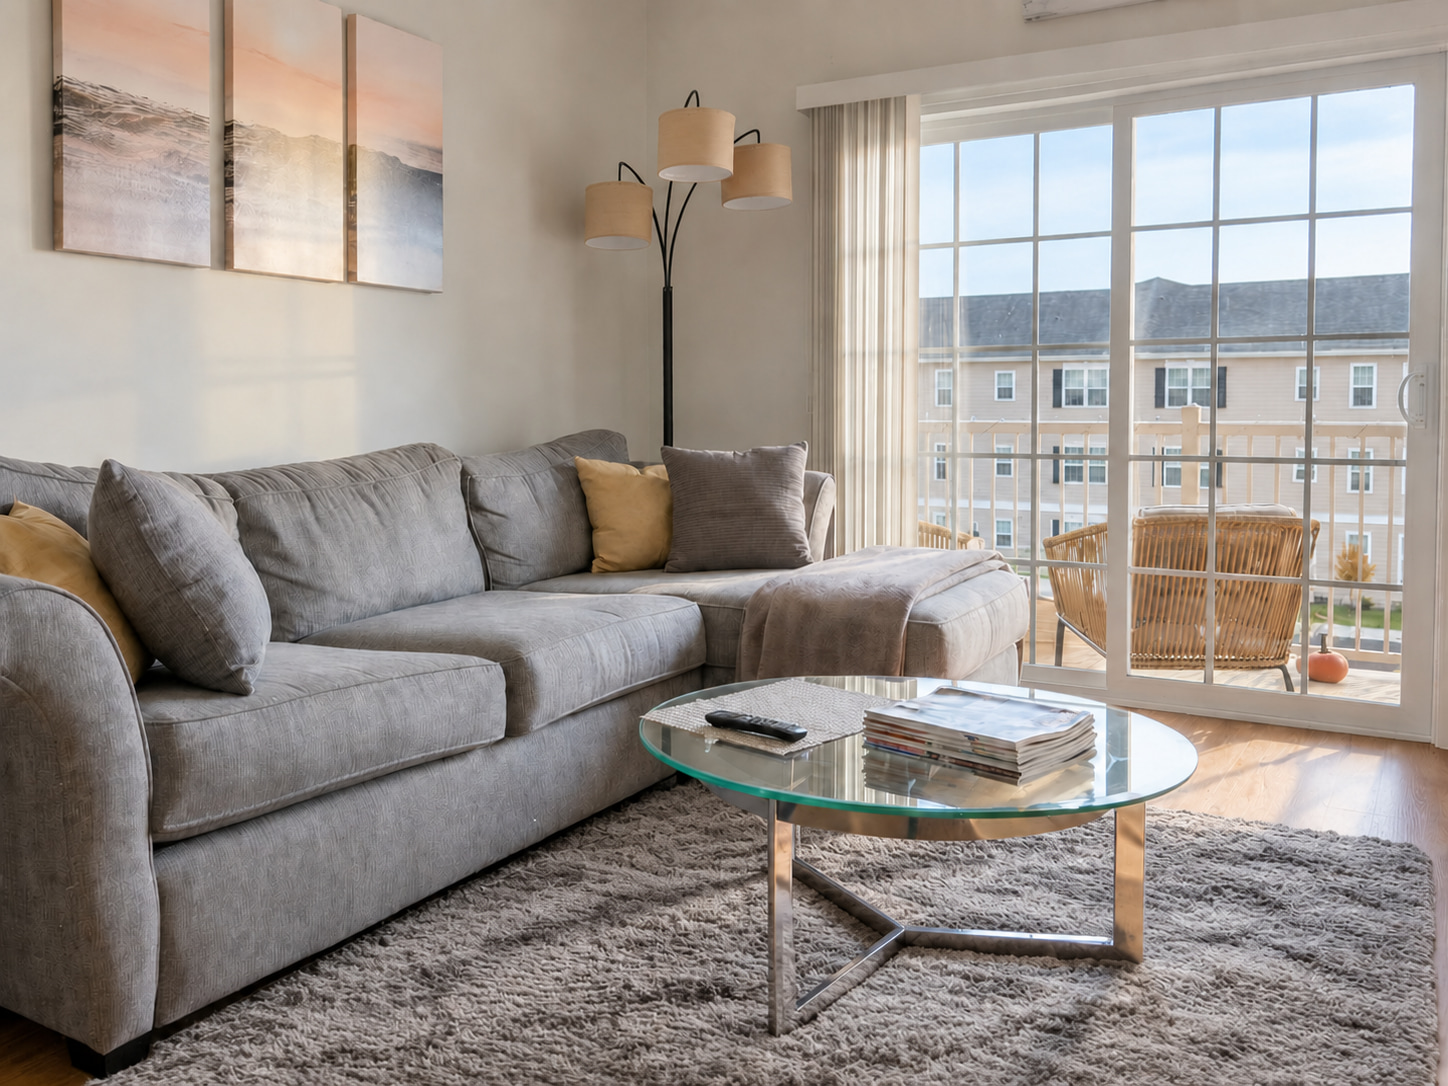
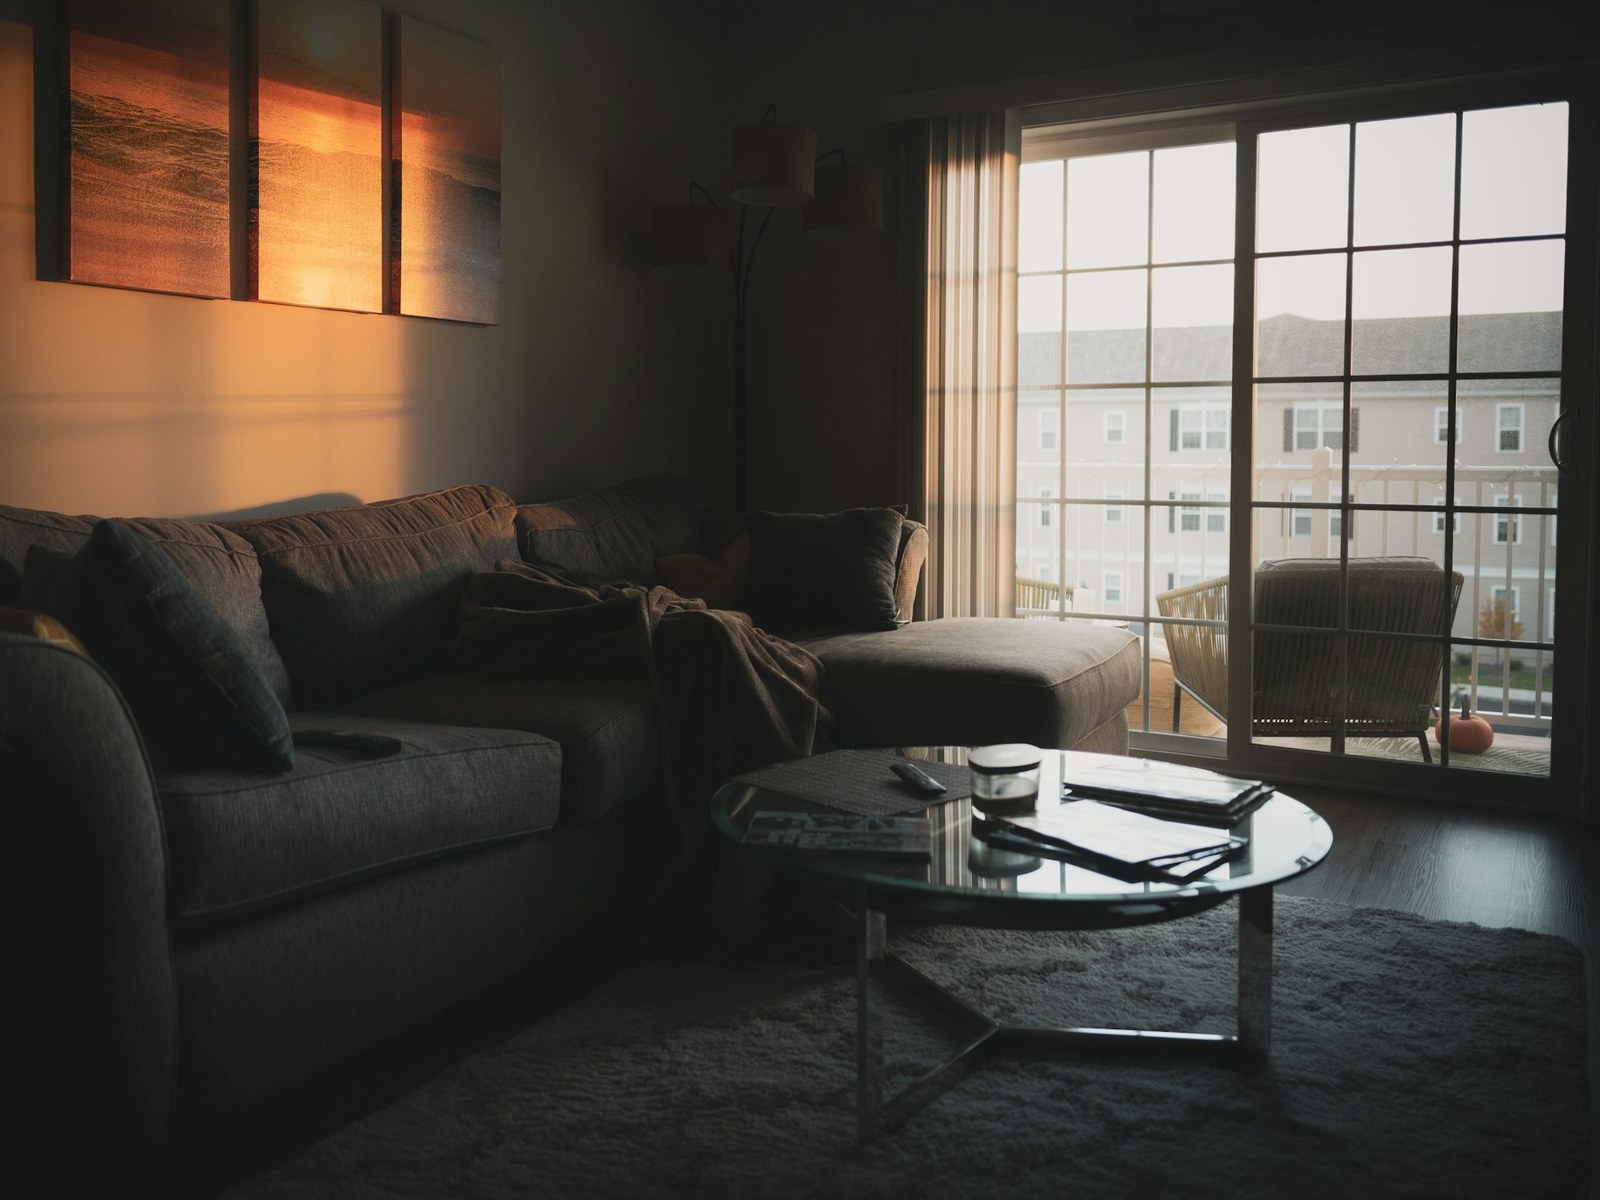
A CLOSER LOOK · FRAMELIFTER
See what a useful edit changes.
Compare the light on the sofa, the wall color, and the detail around the patio doors. This example also includes tidying; a lighting correction and a cleanup are different tasks.
- A brighter room with readable shadows
- Neutral color without washing out the materials
- Review furniture, surfaces and the outside view
Free watermarked enhancement preview. No account or credit card needed.
Jump to a section
Why Listing Photos Turn Out Dark
A dark interior photo is almost never one big mistake — it's a stack of small ones. Some lamps are off, the blinds are half-closed, the camera is set to auto-expose for the brightest thing in frame (usually a window), and the shot is handheld so the shutter speed has to stay fast enough to avoid blur. Any one of those knocks a stop or two off your exposure. Together, they add up to a room that looks noticeably dimmer than it did to your eye standing in it.
The fix splits into two parts: preventing the problem when you're shooting, and correcting it afterward if you're stuck with photos that are already too dark. Prevention is faster and produces a better result, so start there.
Prevent dark photos at capture
Find useful light
Open the blinds and photograph when the room has bright indirect daylight. Compare the room lights on and off; warm bulbs can add an orange cast rather than solve the exposure. Avoid putting your body between a small window and the room.
Steady the camera
A tripod allows a longer shutter speed at low ISO for a stationary interior. On a phone, brace it, use a timer and inspect the file at full size before moving on. Camera motion and underexposure need different fixes.
Balance the room and the window
Do not brighten the room by blindly exposing until the view turns white. Check whether both fit in one exposure. If they do not, use a genuine exposure bracket, a different angle or softer light. Modern phone HDR may help automatically; it cannot handle every scene.
Fix an existing dark photo, step by step
- Start with the original. A screenshot or image downloaded from a listing may already have lost detail.
- Adjust exposure modestly. Watch the window and light fixtures while bringing the room into range.
- Lift shadows separately. Inspect dark furniture and corners at full size for color blotches or heavy noise.
- Balance the color. Use a neutral surface as a reference without forcing warm wood or paint to look white.
- Compare the whole room. Stop if walls look flat, materials lose texture or the result changes what is there.
To try this in FrameLifter, upload a photo and compare the free watermarked enhancement. Keep the finished file only if it represents your room well. Standard enhancement does not promise to reconstruct a completely clipped view.
Optional cleanup is a separate edit after purchase. It should address temporary clutter, not hide stains, damage or permanent property features.
Know the Limit
Editing has a ceiling. A photo that's genuinely, severely underexposed — shot with the lights off, no window light, high shutter speed — doesn't contain enough usable data for any tool, AI or manual, to fully recover without introducing noise or artifacts. If a photo is at that point, the honest move is to reshoot it rather than spend time trying to salvage it. Prevention at capture will always beat correction after the fact; treat editing as the fix for photos that are close but not quite there, not as a substitute for lighting the room properly in the first place.
Frequently asked questions
Why do my listing photos keep coming out dark?
Usually a combination of lights left off, blinds closed, the camera exposing for a bright window instead of the room, and handheld shooting forcing a fast shutter. Fix the room's actual light first, then adjust camera settings.
Can I fix a dark photo after the fact, or do I need to reshoot?
Moderately underexposed photos recover well with exposure and shadow adjustments. Severely underexposed photos show noise and banding when pushed, because there's very little real image data in those dark pixels. If it's that dark, reshoot instead.
Why do my indoor photos look yellow or orange after brightening?
Indoor bulbs cast a yellow-orange tint your eyes correct for but the camera records literally. Brightening makes it more visible. Correct white balance — cooler temperature slider, or a custom white balance set at shoot time.
Should I use a tripod for real estate photos?
Yes, especially in dim rooms. It lets you slow the shutter down instead of raising ISO, keeping the image clean while still gathering enough light.
Does phone HDR mode fix dark rooms?
It helps balance contrast between a bright window and a dim room, but it can't add light that isn't there. Turn the room's lights on first, then let HDR mode handle the rest.
What's the fastest way to brighten a batch of dark listing photos?
Manual editing works per photo but takes time. AI tools like FrameLifter apply brightening and relighting automatically across a full set, which is faster for a whole listing.