
BY FRAMELIFTER · Updated
12 Airbnb Photo Tips: Phone-Only Guide for Hosts
A room-by-room phone workflow for hosts: prepare the space, find useful light, get the coverage guests need, and edit only after choosing the strongest shots.
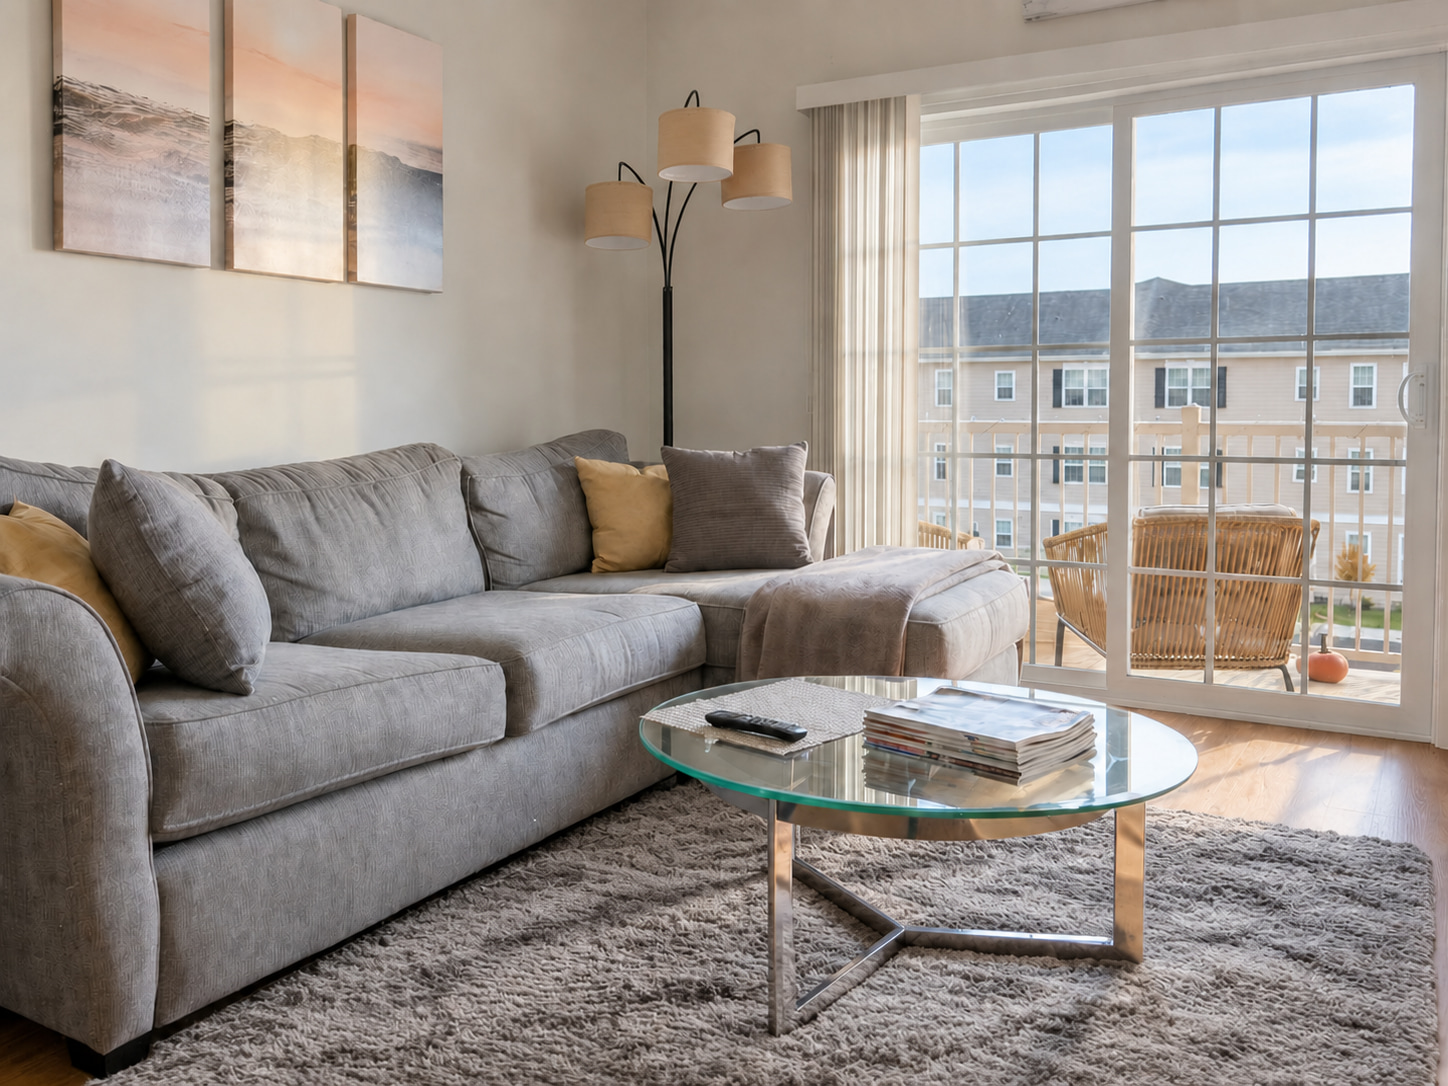
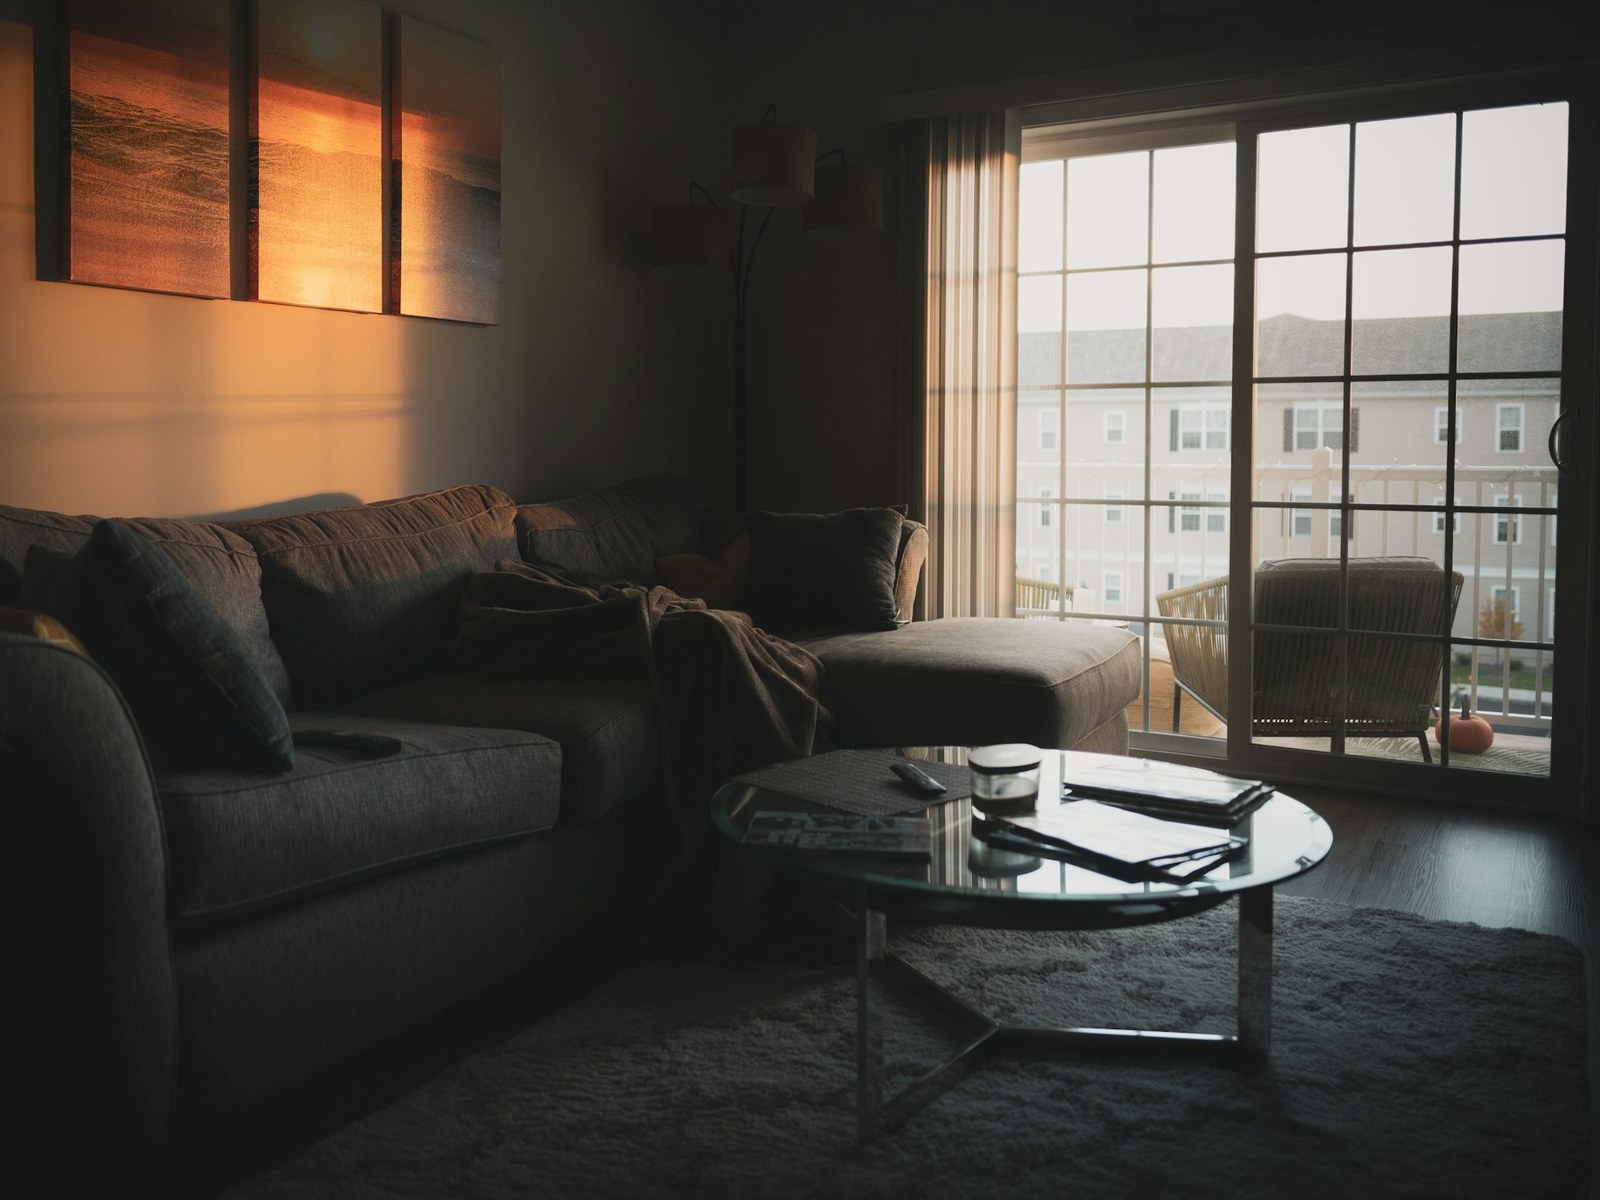
A CLOSER LOOK · FRAMELIFTER
See what a useful edit changes.
Compare the light on the sofa, the wall color, and the detail around the patio doors. This example also includes tidying; a lighting correction and a cleanup are different tasks.
- A brighter room with readable shadows
- Neutral color without washing out the materials
- Review furniture, surfaces and the outside view
Free watermarked enhancement preview. No account or credit card needed.
Jump to a section
1. Start with horizontal room photos
Rotate your phone before framing the room. A horizontal original gives you more room for landscape listing displays and thumbnail crops. Keep the main feature away from the edge so it survives a tighter crop.
Take a portrait detail only when the subject benefits from it, such as a tall stairwell. Do not build the whole gallery from vertical photos that will need heavy cropping.
2. Choose a neutral height and keep the phone level
Start around chest height and adjust for the room. A low counter or high stair landing may need a different height. Keep the phone upright rather than tilting down from standing eye level; check the doorframes against the camera grid.
3. Shoot From the Corner of the Room
Standing in a doorway or corner and shooting across the room diagonally captures more of the space and gives a sense of depth that a straight-on shot from the middle of the room doesn't. Corner-to-corner is the composition used in almost every professional listing photo for a reason.
4. Shoot on a Bright, Overcast Day
Direct harsh sunlight creates blown-out windows and hard shadows that are difficult to fix later. A bright but overcast or partly cloudy day gives soft, even, diffused light through the windows — the easiest lighting condition to shoot in and the one professional photographers often prefer for interiors.
Check when each room receives useful indirect light; window direction and surrounding buildings matter more than a fixed hour. See the best time of day to shoot real estate photos for how this shifts by room orientation and exterior vs. interior shots.
5. Use daylight first, then test the room lights
Open curtains and switch off the flash. Take a test shot with daylight, then with the room lights on. Keep the version with clearer detail and more consistent color. Warm bulbs can make an already bright room look orange, so turning on every fixture is not always an improvement.
Airbnb’s own photography guide also starts with natural light and recommends adding room lights if needed.
6. Declutter Before You Shoot, Not After
Cables, trash cans, toiletries, mail piles, and personal photos are the fastest way to make a clean room look messy in a photo. Do a five-minute sweep of every room immediately before shooting — editing can brighten a photo, but it can't remove a laundry basket from the corner of the frame.
7. Make the Bed and Set Out Clean Towels
The two highest-impact staging moves for almost zero effort: a tightly made bed with matching linens, and folded, clean towels in the bathroom. Both signal a well-kept property faster than almost anything else in the frame.
8. Use the Grid Lines to Keep Verticals Straight
Turn on your phone's camera grid (available in every major phone's camera settings) and keep door frames and wall edges parallel to the vertical grid lines. Tilted verticals are subtle but they make a photo feel unprofessional even when a viewer can't immediately say why.
9. Shoot Every Room Separately, Not Combined
Two bedrooms shown in one wide shot from the hallway leaves guests unclear about the actual size and layout of either room. Shoot each bedroom and bathroom on its own, straight on, so a guest can accurately judge the space they'd actually be staying in.
10. Capture the Detail Shots That Sell — But Don't Lead With Them
A close-up of a coffee maker, a nice view from a window, or a cozy reading nook can help sell a listing further down the gallery. Just don't use them as the cover photo or early shots — guests need to see the whole room before a detail shot means anything to them.
11. Order Your Shots to Match a Walkthrough
Photos organized to mirror how a guest would actually walk through the property — entrance, living area, kitchen, each bedroom, each bathroom, outdoor space — are easier to follow and read as a more complete, trustworthy listing than photos uploaded in random order. For the specifics on ordering your first five photos and picking a cover, see Airbnb Cover Photo & Photo Order .
12. Take More Photos Than You Think You Need
Shoot each room from two or three angles and pick the best one later rather than settling for a single take. A few extra frames give you choices when access to the room is limited later.
What Editing Can Fix — and What It Can't
Being honest about this upfront saves hosts from a common disappointment: editing is powerful, but it's not magic. Here's the real breakdown.
Editing can help with:
- Dim or underexposed rooms
- Yellow or blue color casts from mixed indoor lighting
- Bright windows when the original file or a captured exposure bracket retains detail
- Flat, hazy, low-contrast photos
- Minor perspective issues, like slightly tilted verticals
- Overall consistency across a gallery so every photo matches in tone and brightness
Editing generally can't fix:
- A bad angle or composition — that has to be right when you press the shutter
- Clutter — some cleanup tools exist, but a messy room needs to be cleaned, not edited
- Out-of-focus or motion-blurred photos
- A room that's small or awkwardly laid out — editing won't change the space itself
The practical implication: spend your effort on the shoot — lighting, angle, decluttering, staging — since that's what determines the ceiling on how good the photo can look. Then compare the edited image with its source and check the export against your destination’s requirements.
Your pre-shoot checklist
Ready to shoot?
0 of 6Frequently asked questions
Can I take good Airbnb photos with just my phone?
Yes. Modern phone cameras are capable of listing-ready photos — lighting, angle, and composition matter far more than the camera itself.
What time of day is best for Airbnb photos?
Choose bright indirect light indoors and useful light on the facade outdoors. Window direction, season, weather and neighboring buildings affect the timing; check a test frame at the property.
Can photo editing fix a badly lit or badly composed photo?
Editing can improve usable exposure and color. It cannot recover factual detail that was never captured, replace a missing angle or reliably repair motion blur. Clear clutter before shooting; optional cleanup is a separate edit.
Should I stage the property before taking Airbnb photos?
Prepare the actual space guests will receive: clear clutter, make beds and set out clean towels. Compare daylight with room lights on and off. Avoid furnishings or amenities that will not be available during the stay.