iPhone Real Estate Photography: Pro-Looking Listing Photos Without a DSLR

Most listing photos don't fail because the camera was a phone — they fail because of lens choice, a crooked frame, or a blown-out window. Fix those three things and an iPhone shot holds up fine next to a lot of "professional" real estate photography. Here's the actual technique, plus where editing picks up the rest.

Published: July 20268 min read

Use the Main Lens, Not the Ultra-Wide

Every modern iPhone has at least two rear lenses: the main 1x lens and an ultra-wide 0.5x lens. The 0.5x lens is tempting for real estate because it fits more of a room into the frame, but it does that by bending straight lines near the edges of the shot. Door frames lean, walls bow outward, and furniture at the edge of the frame looks stretched. On a listing photo, that distortion reads as amateur even if the exposure and lighting are perfect.

Shoot with the main 1x lens as your default. It has far less edge distortion and produces the straight, believable lines buyers expect from a real estate photo. If a room is genuinely too small to capture at 1x — a tight bathroom or a narrow hallway — switch to 0.5x sparingly, and plan to correct the distortion in editing afterward rather than leaving it as shot. Most photo editors have a lens-correction or perspective tool for exactly this.

Lock Exposure and Focus Before You Shoot

The iPhone camera app auto-adjusts exposure and focus continuously, which is useful for casual photos and a problem for listing photos. Point the camera at a room with a bright window and a dim corner, and the auto-exposure will pick a middle ground that doesn't serve either area well — or it'll shift exposure mid-shot if something in frame changes.

Tap and hold on the part of the frame you want correctly exposed — usually a mid-tone area of the room, not the window itself — until you see "AE/AF LOCK" appear at the top of the screen. This locks both exposure and focus to that point. Recompose the shot if needed and fire the shutter. Locking exposure this way gives you consistent, repeatable results across every room in the listing instead of the camera guessing fresh each time.

Turn On the Grid and Level, and Keep the Phone Plumb

Go to Settings > Camera and turn on both Grid and Level. The grid gives you a rule-of-thirds reference for framing. The level is more important for real estate specifically: it shows a yellow line that turns white when the phone is perfectly horizontal, which tells you when vertical lines in the shot — door frames, cabinet edges, window trim — will come out straight instead of leaning.

Shoot from roughly chest height, not from your eye or down at the floor. Eye height (5.5–6 feet for most people) tilts the phone downward to frame the shot, which throws verticals off and makes rooms look like they're falling backward in the photo. Chest height, camera held level using the built-in level, keeps the phone's sensor parallel to the walls — which is exactly what keeps vertical lines vertical.

Shoot at Full Quality, With HDR On

In Settings > Camera > Formats, set your iPhone to its highest available capture quality. On newer Pro models that includes ProRAW, which captures far more tonal and color data than a standard JPEG/HEIC — useful if you plan to do real editing afterward, since there's more detail to recover in shadows and highlights. If you're not editing much, the standard high-efficiency format at max resolution is still better than a lower setting, since MLS and listing platforms compress on upload and you want more source detail than the compression will need.

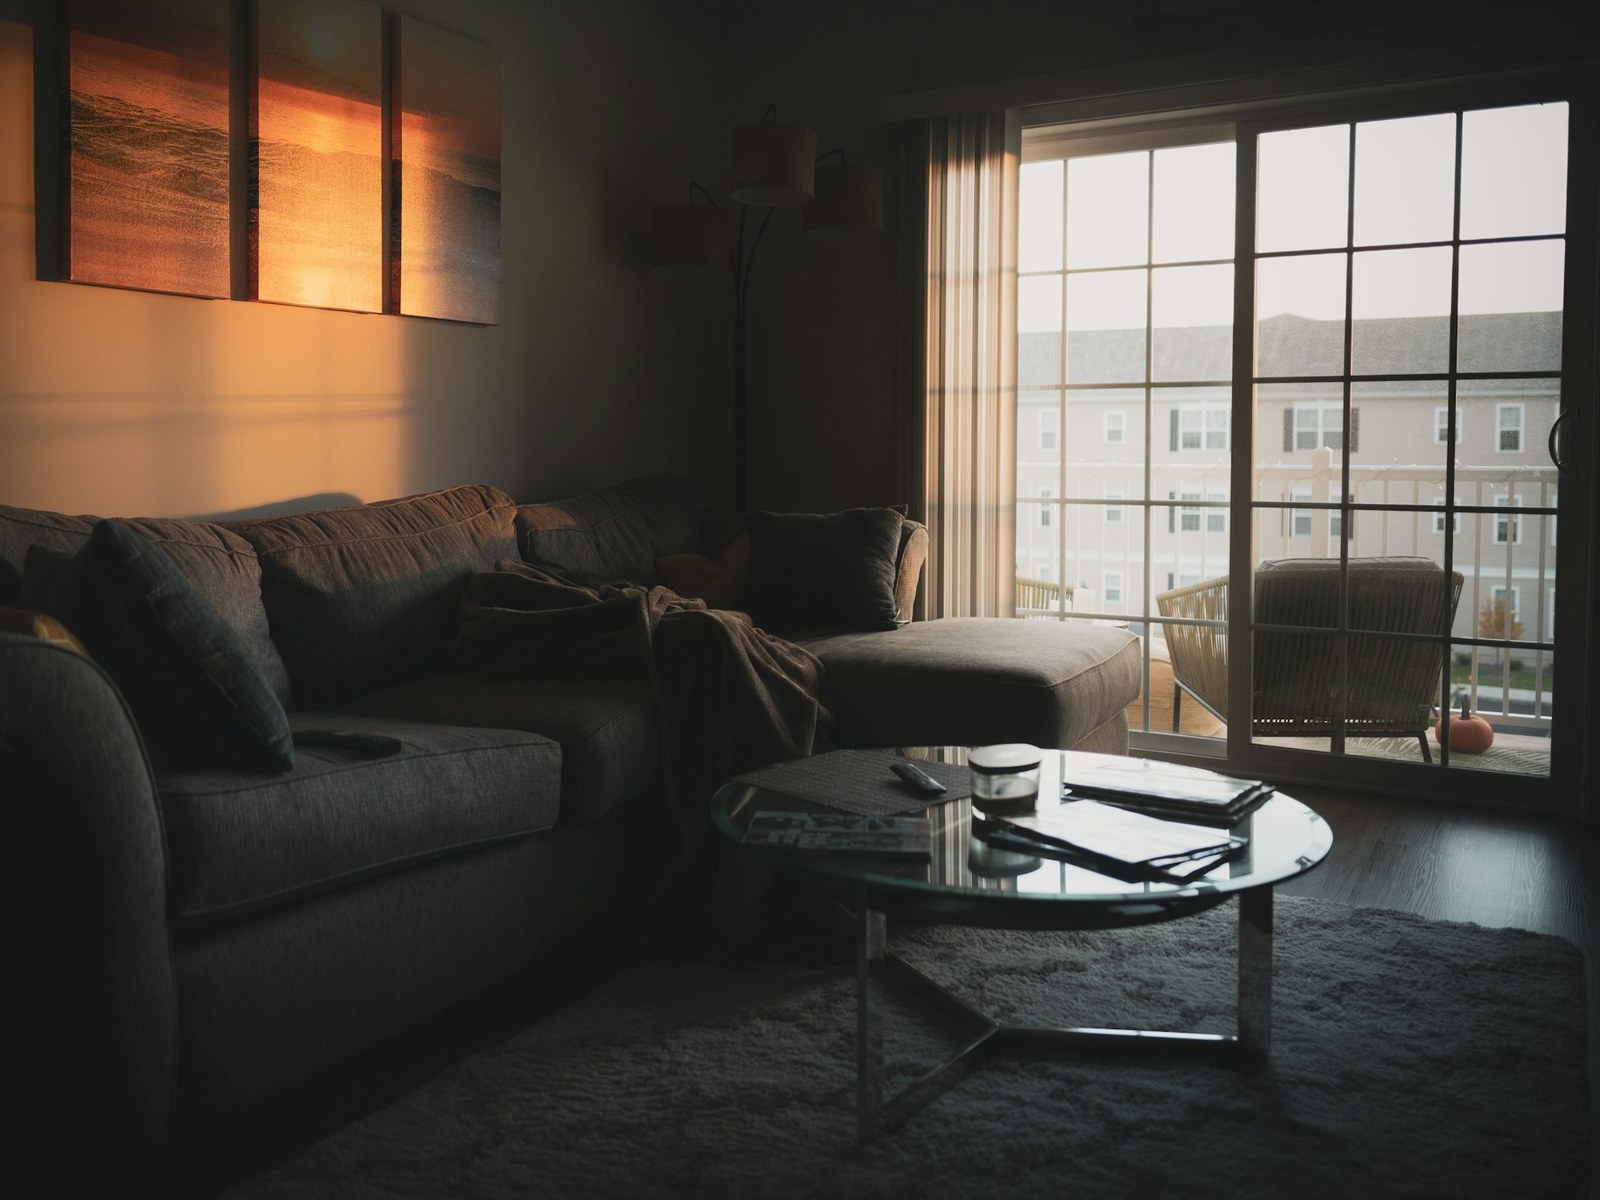
Smart HDR is on automatically on modern iPhones and merges multiple exposures in the background each time you shoot. Leave it on for interiors — it genuinely helps balance a bright window against a dimmer room. It has limits: if a window is blown out to pure white, HDR can't pull detail back out of it, because there was no detail captured there in the first place. For a deeper look at that specific problem, see HDR real estate photography.

A Cheap Tripod Kills Shake in Dim Rooms

In good light, handheld is fine — the shutter speed is fast enough that small hand movement doesn't show up as blur. In a dim room (an interior hallway, an evening shoot, a basement), the shutter slows down to let in more light, and handheld shake starts showing up as soft, slightly blurred detail even if the shot looks fine on the small phone screen.

A small phone tripod costs very little and solves this completely. Mount the phone, frame the shot, then use the built-in 2-second timer (in the timer menu next to the shutter button) instead of tapping the shutter button directly — tapping the screen introduces a small jolt that a braced tripod won't fully absorb on its own. Between the tripod and the timer, dim-room shots come out noticeably sharper.

Shoot Horizontal for MLS

MLS listings and most real estate platforms display photos in a horizontal (landscape) format. A vertical (portrait) photo either gets cropped awkwardly or displayed with bars on the sides, losing part of the frame you composed. Rotate the phone and shoot every listing photo in landscape orientation — it's a one-second habit that avoids a genuinely annoying fix-it-later problem.

Editing: Photos App vs. AI Enhancement

The built-in Photos app on iPhone has real editing tools — Exposure, Brilliance, Highlights, Shadows, White Balance, and a straightening/perspective tool under Crop. For a quick fix on a single photo, that's often enough: pull down highlights on a bright window, lift shadows a little in a dim corner, straighten a slightly tilted horizon.

Where it runs out is scale and specific problems. Editing 20–40 photos for a single listing one by one in the Photos app is slow, and results vary shot to shot depending on how carefully you adjust each one. It also doesn't do a few things well: pulling a washed-out view back into a window, correcting perspective distortion cleanly, or brightening a genuinely underexposed room without introducing noise.

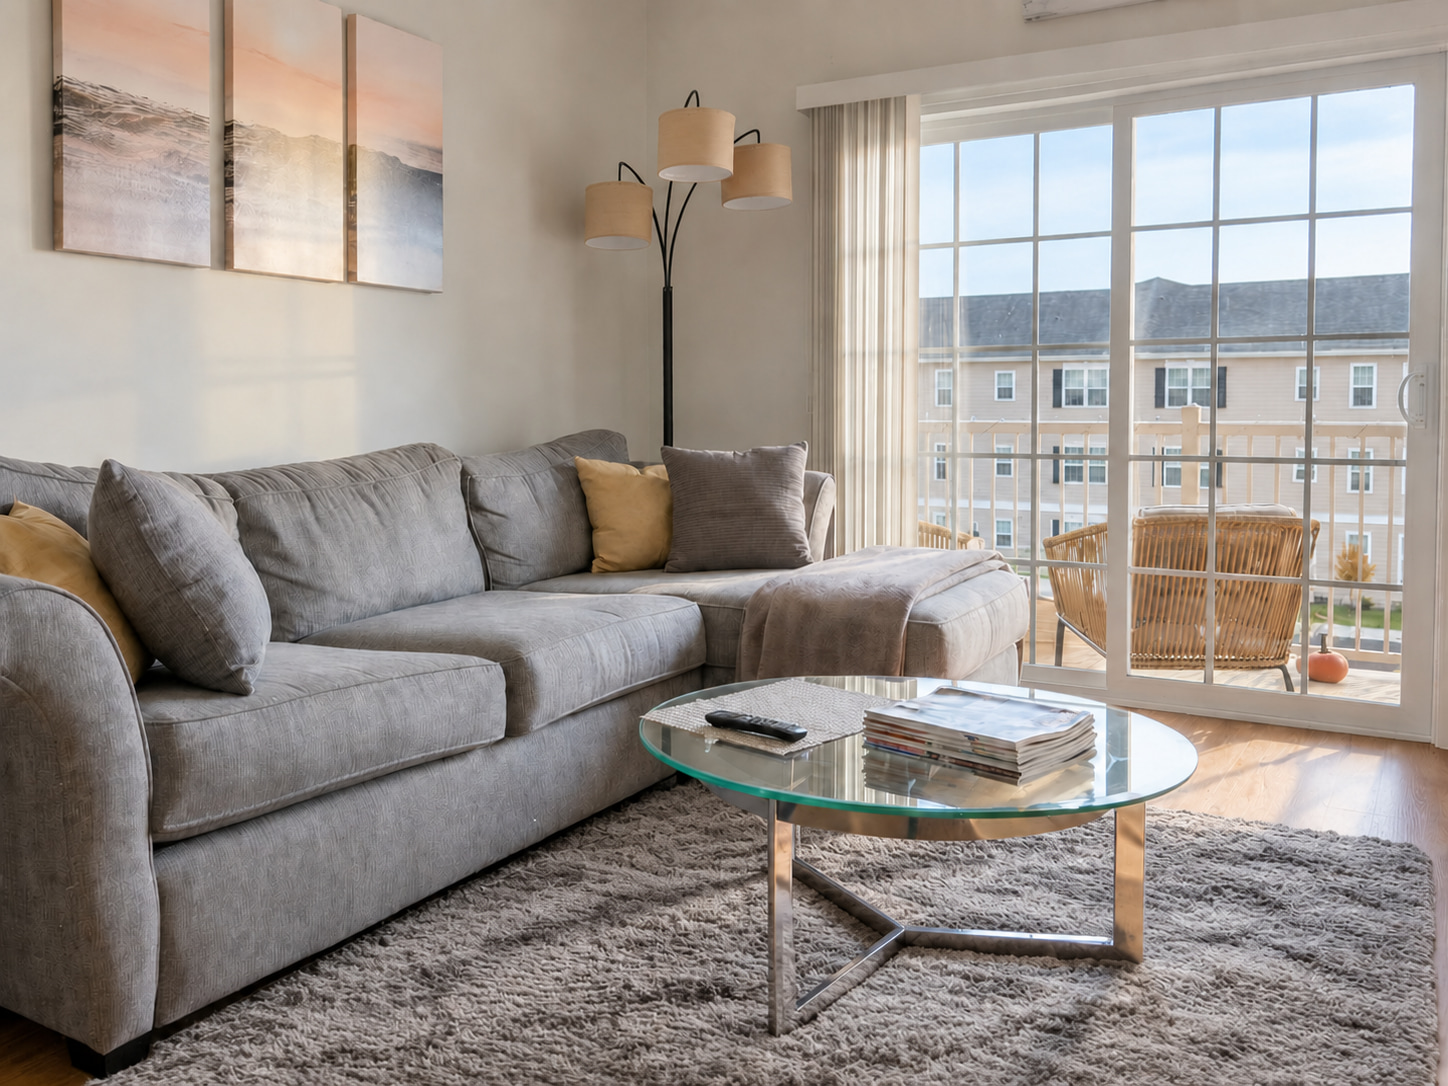
This is where AI enhancement like FrameLifter fits in — it takes the phone shot as-is and handles brightness and white balance correction, straightens verticals distorted by the 0.5x lens or an off-level shot, and pulls detail back into windows without the halos manual HDR tone-mapping can introduce. It won't invent detail that was never captured — a window blown out to pure white on the source photo is still limited by that — but for the normal range of phone-shot exposure and distortion problems, it does the correction automatically instead of you adjusting sliders on every photo individually. See AI real estate photo enhancement for how the correction works, or iPhone real estate photography with FrameLifter for the phone-specific workflow.

Where a Phone Genuinely Can't Compete

Be honest about the limits. A full-frame camera with a tilt-shift lens corrects perspective optically at the moment of capture — no lens distortion to fix afterward, better resolution and low-light performance, and more physical control over depth of field. In a genuinely difficult room — very tight quarters, extreme contrast between a dark room and bright exterior, or a high-end listing where buyers will scrutinize photographic accuracy — that gear advantage shows.

For the average single-family home or rental listing, though, the room itself usually isn't that demanding. The gap between a well-shot iPhone photo and a professional camera shot is mostly technique — lens choice, exposure lock, level framing — not the sensor. Get those right and a phone photo edited well covers the large majority of listings without hiring a photographer. For more on shooting technique beyond phone-specific tips, see the real estate photography guide.

FAQ

Which iPhone lens should I use for real estate photos?

The main (1x) lens by default. The ultra-wide (0.5x) lens bends straight lines near the edges of the frame, which distorts rooms. Use 0.5x only when a room won't fit otherwise, and correct the distortion afterward.

How do I stop my iPhone photos from looking crooked or distorted?

Turn on the grid and level in Settings > Camera. Shoot from chest height and use the level to keep the phone vertically plumb — tilting up or down is what makes vertical lines lean.

Should I use HDR on my iPhone for listing photos?

Yes, for most interiors. Smart HDR is on by default and helps balance a bright window against a dimmer room, though it can't recover detail from a window blown out to pure white.

Do I need a tripod to shoot real estate photos on an iPhone?

Not always — mainly in dim rooms, where slower shutter speed makes handheld shake show up. A cheap tripod and the 2-second timer fix this.

What resolution should I shoot at on an iPhone for MLS photos?

Your phone's maximum quality setting in Settings > Camera > Formats, and ProRAW if your model supports it. MLS platforms compress on upload, so more source detail helps.

Can an iPhone really replace a DSLR for real estate photography?

For most listings, yes. A full-frame camera with a tilt-shift lens still wins in genuinely difficult rooms or high-end listings, but for a typical home the technique matters more than the gear.

Get Pro-Looking Photos From Your Phone Shots

Shoot with the main lens, lock your exposure, keep the phone level — then let AI enhancement clean up brightness, verticals, and window detail across the whole listing in minutes.

Enhance Your Listing Photos

5 photos free • No credit card required