NO-GEAR GUIDE

How to take real estate photos with an iPhone that don't look like phone photos.

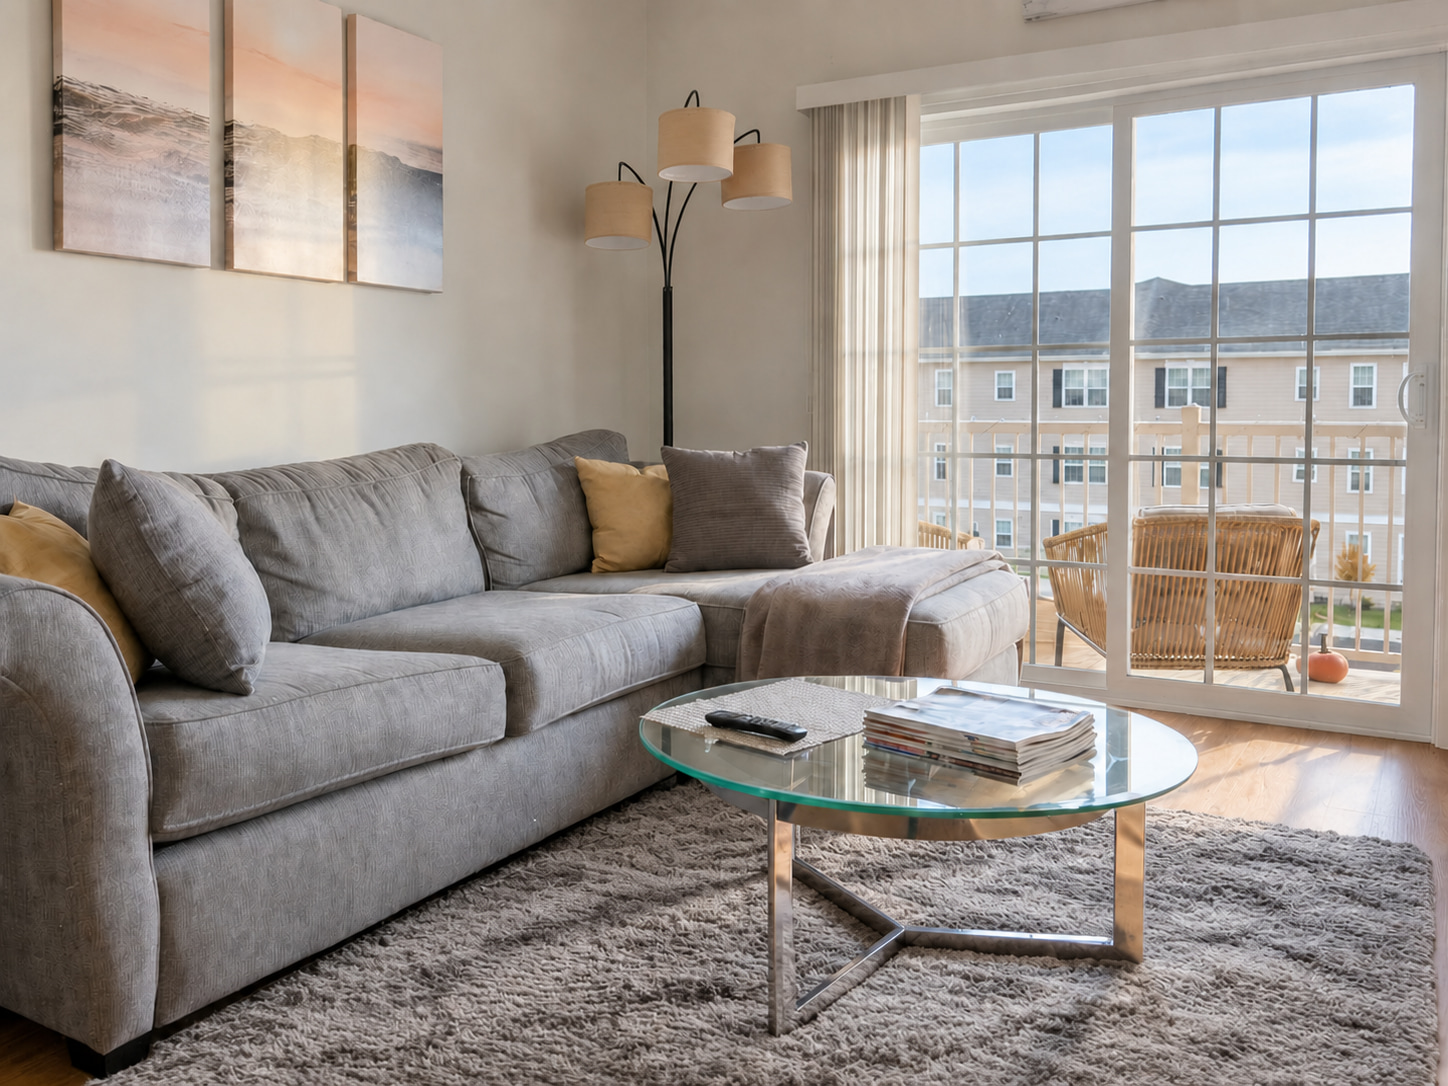
A recent iPhone shoots listing photos most buyers can't tell from a pro camera, if you control three things: light, lines, and height. This guide covers the settings and habits that matter, plus what to fix in editing instead of fighting on site.

No account. No credit card. 5 photos free.

Set These Before You Shoot

Stick to the 1x lens

Use the main 1x lens for most rooms, not the ultra-wide 0.5x. Ultra-wide causes distortion, bowed walls, stretched corners. Step back instead of switching lenses.

Turn on the grid

Settings > Camera > Grid. The grid gives you a reference for level, aligned shots so you're not eyeballing straight lines.

Lock your exposure

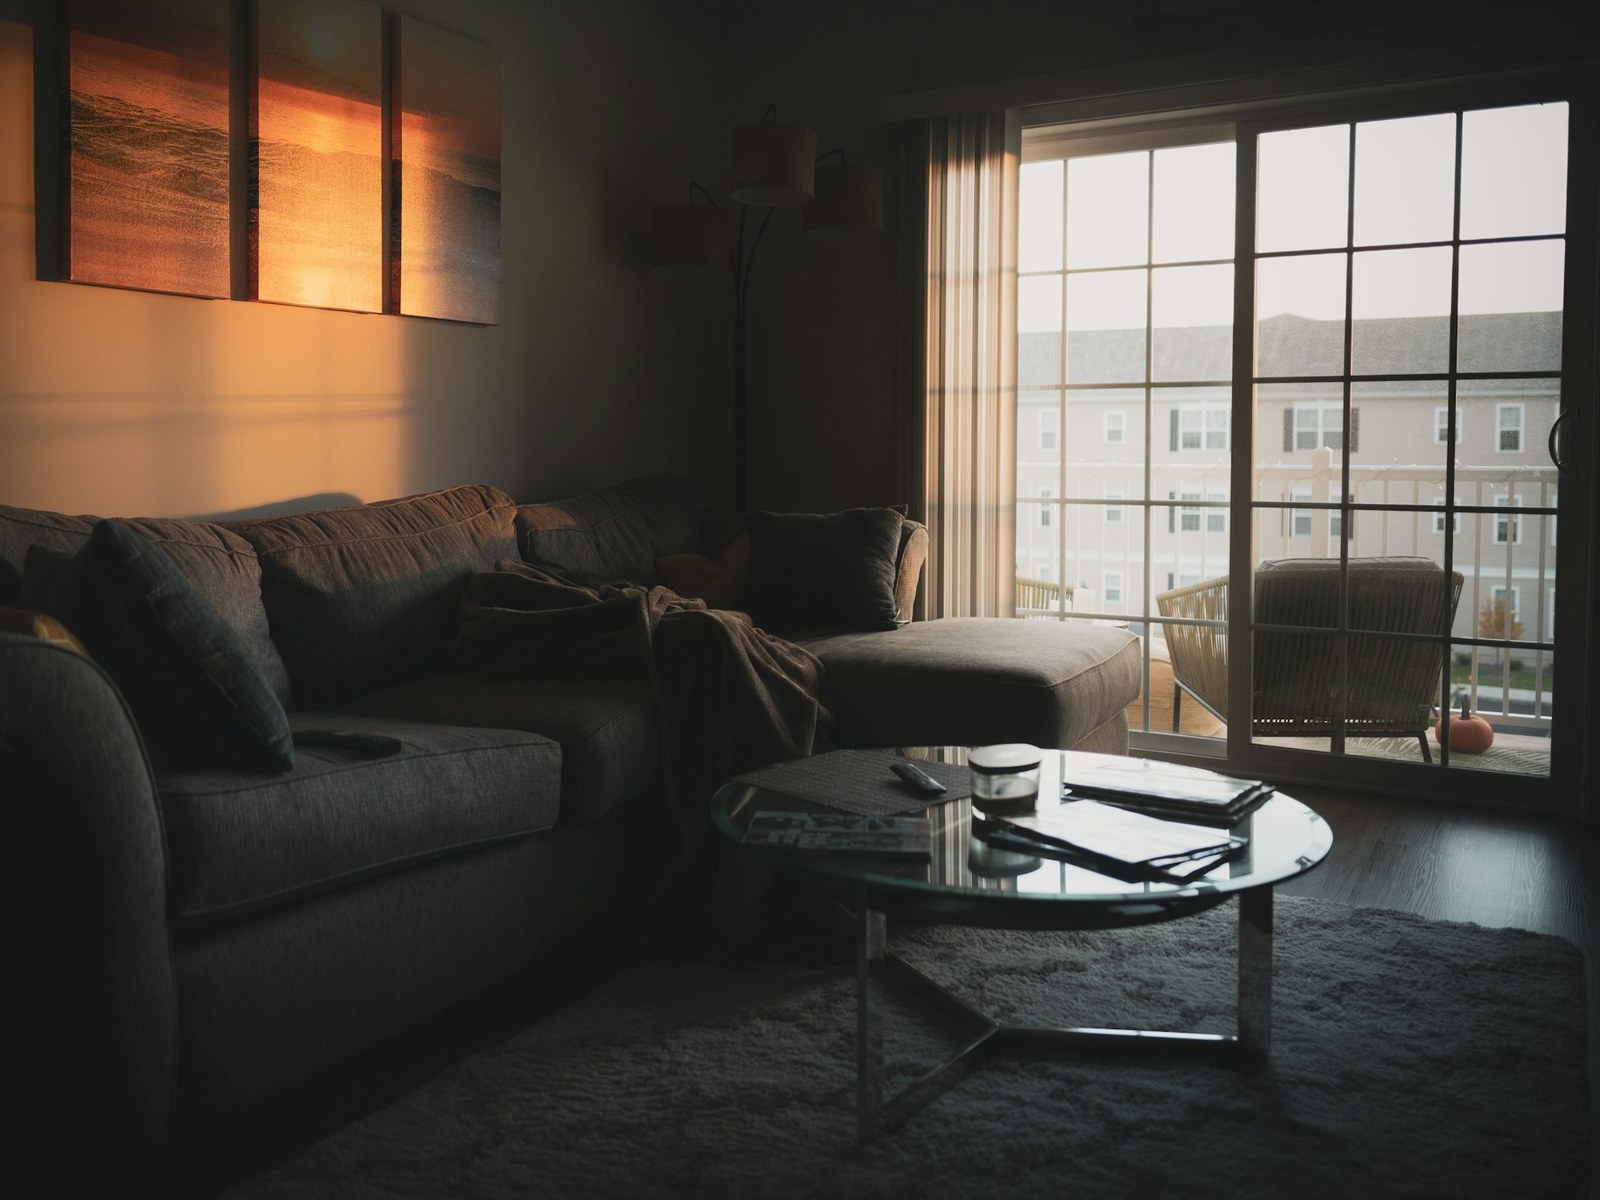
Long-press on the screen to lock exposure, then drag down slightly to protect bright windows from blowing out to solid white.

Turn HDR on

HDR helps balance bright windows against darker interiors in the same shot, which is the exact lighting situation most rooms present.

Never zoom past 1x

Digital zoom on iPhone degrades image quality fast. If you need to get closer, walk closer.

Shoot landscape, always

Real estate listings are landscape. A portrait-orientation shot doesn't fit the format and looks out of place next to the rest of the gallery.

Three Habits That Matter More Than the Camera

Shoot at chest height

Not eye height. Eye height distorts room proportions and makes ceilings look lower than they are. Chest height reads as natural and shows the room the way a buyer would actually see it walking in.

Keep verticals vertical

Tilt the phone as little as possible. Use the grid to check that wall lines and door frames run straight up and down, not leaning toward the center of the frame.

Balance interior and window light

Turn on every light in the room. Shoot with your back to windows where possible, so the room's own lights do more of the work and the windows don't fight the exposure.

Room-by-Room Quick Hits

Kitchens

Clear the counters first. Shoot from the doorway corner to capture the full layout in one frame.

Bathrooms

Put the lids down. Check mirrors for your own reflection before you shoot, it's an easy miss that ruins an otherwise good photo.

Bedrooms

Shoot from the corner that shows the window. It gives the room depth and a natural light source in frame.

Exteriors

Golden hour or an overcast sky beats harsh noon sun, which flattens color and creates hard shadows.

Save Some of the Work for Editing

Brightness, white balance, and sharpness are editing fixes, not shooting problems to solve on location. Trying to nail perfect color and exposure in camera, room by room, slows down a shoot that should take minutes per room. Get the framing and light right on site, then correct the rest afterward.

This is what FrameLifter does, at $0.75 per photo. Empty rooms can be furnished with virtual staging at no extra charge, it's included in the same per-photo rate, so the same shoot covers both an empty unit and a photo-ready listing.

Common iPhone Mistakes

Ultra-wide distortion

The 0.5x lens bends straight lines near the edges of the frame and can misrepresent room size.

Portrait-orientation shots

Listings are landscape. A portrait shot doesn't match the gallery format and gets cropped or skipped.

Blown-out windows

Shooting into a bright window with exposure unlocked turns it into a solid white rectangle with no detail.

Relying on flash

Skip flash entirely for interiors. It flattens the room and creates harsh reflections off windows and mirrors.

Frequently Asked Questions About iPhone Real Estate Photography

Is an iPhone good enough for real estate photos?

Yes, a recent iPhone can produce listing photos most buyers can't tell from a pro camera, as long as you control light, keep lines straight, and shoot from chest height. The camera isn't the limiting factor for most listings; technique is.

Which iPhone camera lens should I use?

Use the main 1x lens for most rooms. The ultra-wide 0.5x lens causes distortion that makes rooms look warped and can exaggerate size in a way that misleads buyers. Step back to fit more of the room instead of switching lenses.

Do I need a tripod?

A tripod helps but isn't required. Bracing the phone or your arm against a doorframe works as a substitute for keeping the shot steady and level, especially in lower light.

Should I use portrait mode?

No. Portrait mode blurs the background artificially, and for real estate that reads as fake. Buyers want to see the whole room in focus, not a simulated depth-of-field effect.

How do I make iPhone photos look professional?

Control light, lines, and height on site: turn on every light, keep verticals vertical, and shoot from chest height. Then fix brightness, white balance, and sharpness in editing, and stage any empty rooms so the listing photos look finished.

KEEP READING

More on shooting and editing listing photos

If you're renting out a property, the same phone habits apply with a few landlord-specific tips. See what photo enhancement fixes after the shoot, how virtual staging handles empty rooms, and the full pricing breakdown.

Shoot It on Your Phone, Let Us Finish It

Upload your iPhone photos and get them enhanced at $0.75 per photo, with staging included for any empty rooms.

Secure upload · MLS-ready results · Delivered in minutes