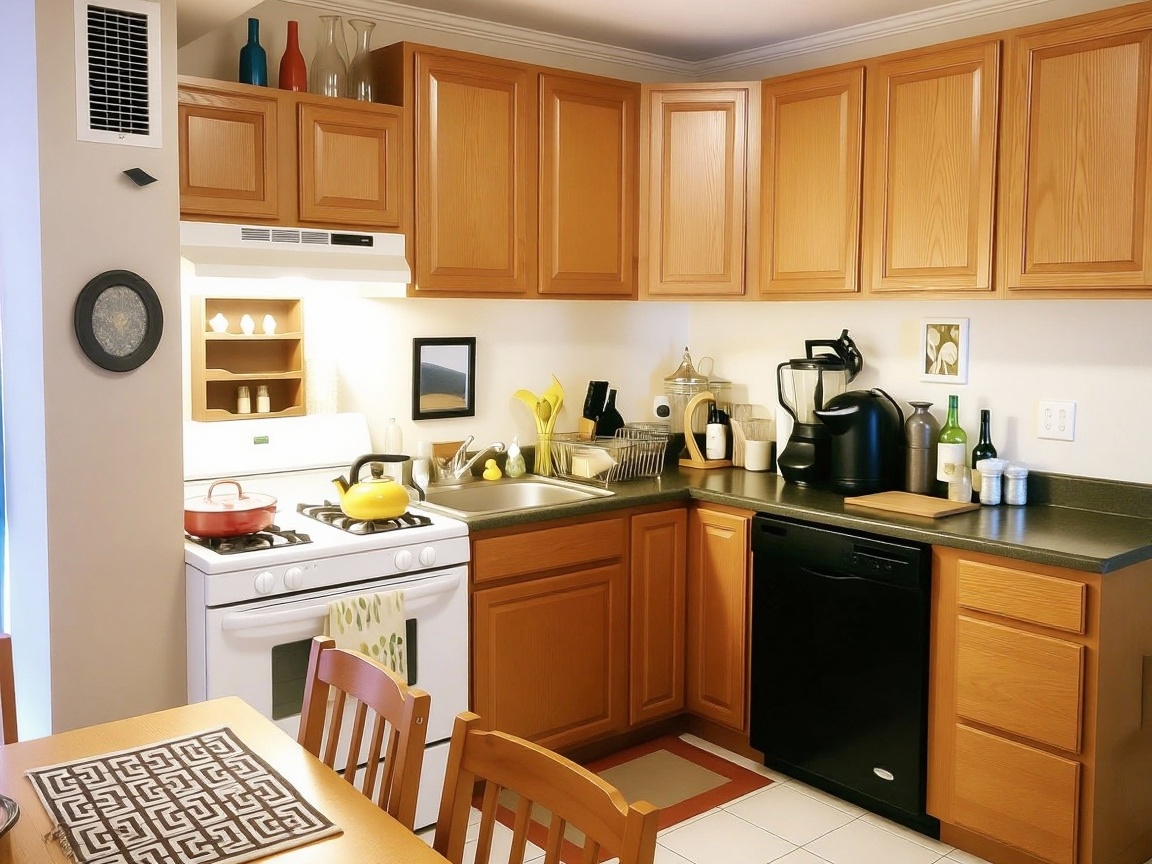
The Cost of Bad Photos
Poor rental photos can cost you thousands in lost bookings and extended vacancy periods. According to our analysis of over 5,000 rental listings, properties with bad photos experience:
- 65% lower click-through rates compared to well-photographed properties
- 40% lower conversion rates from views to bookings
- 50% longer vacancy periods due to fewer qualified applicants
- 20% lower rental rates - tenants won't pay premium prices for poorly presented properties
The good news? Most photo mistakes are easy to fix once you know what to look for.
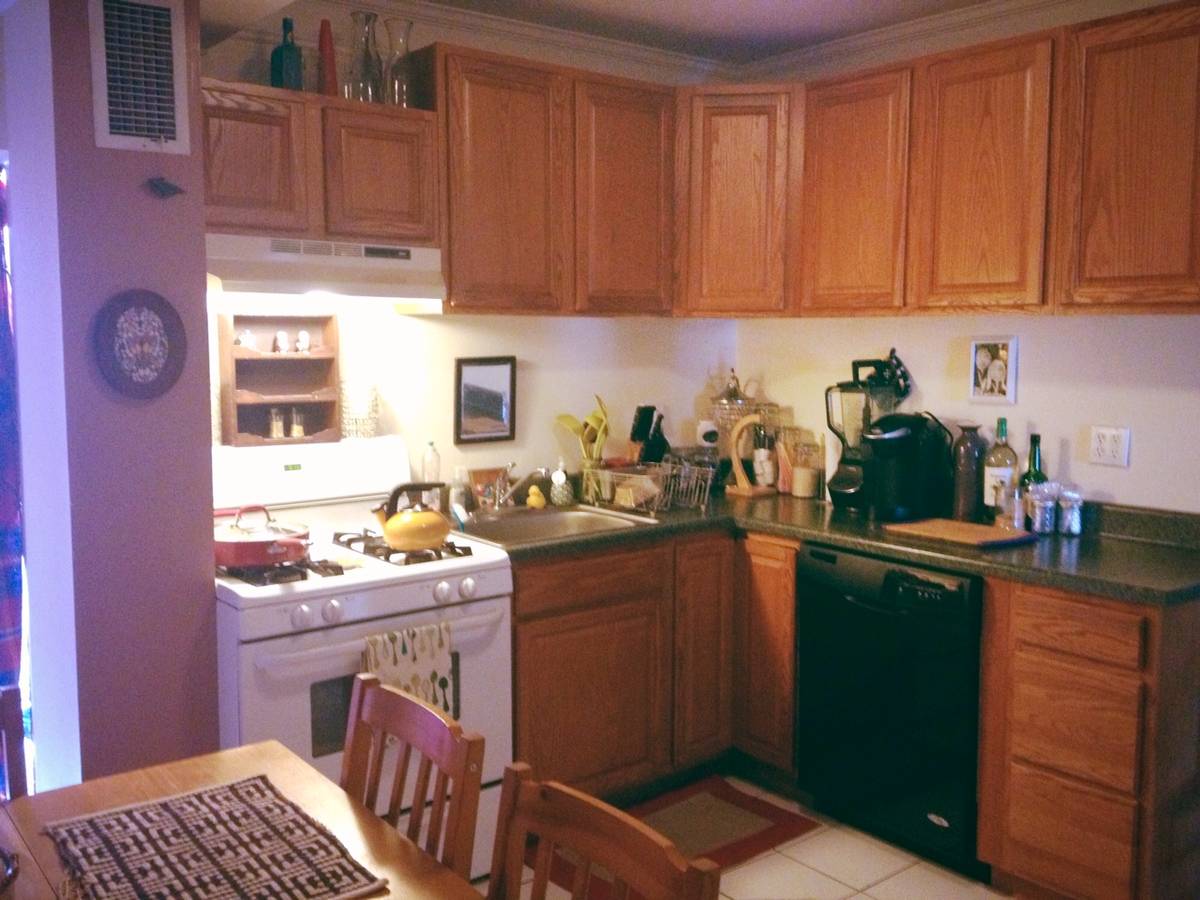
Mistake #1: Poor Lighting
The Problem: Dark, poorly lit photos make spaces look small, dirty, and uninviting. This is the #1 reason guests skip listings.
Signs of Poor Lighting:
- Dark, shadowy areas in photos
- Yellow or orange color casts
- Overexposed windows with blown-out highlights
- Inconsistent lighting across different photos
How to Fix It:
- Open all curtains and blinds to maximize natural light
- Turn on all available lights in the room
- Use external flash or LED light panels for fill lighting
- Shoot during golden hour (1 hour after sunrise or before sunset)
- Use AI photo enhancement to brighten dark photos
Mistake #2: Cluttered Spaces
The Problem: Messy, cluttered rooms suggest poor maintenance and make tenants question the overall cleanliness of your property.
Signs of Cluttered Spaces:
- Personal items visible in photos
- Excess furniture or decor
- Visible cords, cables, or electronics
- Dirty or disorganized surfaces
How to Fix It:
- Remove all personal items and valuables
- Declutter surfaces and hide unnecessary items
- Organize remaining items neatly
- Hide cords and cables
- Clean every surface thoroughly
Mistake #3: Bad Camera Angles
The Problem: Poor camera angles can make rooms look smaller, distorted, or unappealing.
Common Angle Mistakes:
- Shooting from too high or too low
- Not showing room corners and walls
- Cutting off important features
- Using extreme wide-angle lenses that distort space
How to Fix It:
- Shoot at standing eye level (5-6 feet high)
- Include two walls in each shot to show room dimensions
- Use a wide-angle lens (24-35mm) for interior shots
- Take multiple angles of each room
- Ensure important features are fully visible
Mistake #4: Inconsistent Photo Quality
The Problem: Mixing professional photos with amateur shots creates an unprofessional impression and reduces trust.
Signs of Inconsistent Quality:
- Some photos are bright and clear, others are dark and blurry
- Different color tones across photos
- Varying levels of sharpness and clarity
- Different photo styles and compositions
How to Fix It:
- Use the same camera and settings for all photos
- Apply consistent editing to all photos
- Use AI photo enhancement for uniform quality
- Establish a consistent photo style and stick to it
- Replace low-quality photos with better ones
Mistake #5: Missing Key Areas
The Problem: Not showing important rooms or features makes tenants suspicious about what you're hiding.
Common Missing Areas:
- Kitchen (especially if it's small or outdated)
- Bathroom (especially if it's small or outdated)
- Closet space and storage areas
- Outdoor spaces (patio, balcony, yard)
- Parking or garage areas
How to Fix It:
- Include photos of every room in the property
- Show all important amenities and features
- Include storage areas and closets
- Don't hide problem areas - address them instead
- Use captions to explain what each photo shows
Mistake #6: Outdated Photos
The Problem: Old photos that don't reflect your current property condition can lead to disappointed tenants and negative reviews.
Signs of Outdated Photos:
- Photos taken months or years ago
- Different furniture or decor than current
- Seasonal differences (snow in summer photos)
- Different paint colors or finishes
How to Fix It:
- Take new photos regularly (at least every 6 months)
- Update photos when you make changes to the property
- Use seasonal photos appropriately
- Ensure photos match your current listing description
- Date your photos to track when they were taken
Mistake #7: Over-editing
The Problem: Over-edited photos look fake and can mislead tenants about what the actual space looks like.
Signs of Over-editing:
- Unrealistic colors or lighting
- HDR halos or artificial-looking effects
- Over-saturated colors
- Unnatural shadows or highlights
How to Fix It:
- Keep editing subtle and natural
- Focus on correcting exposure and color balance
- Avoid extreme HDR or artistic effects
- Use AI photo enhancement for natural results
- Compare edited photos to the original to ensure realism
Mistake #8: Poor Mobile Optimization
The Problem: Most tenants browse on mobile devices, so photos that don't look good on small screens will hurt your performance.
Mobile Optimization Issues:
- Photos that are too dark on mobile screens
- Text or details that are too small to see
- Photos that don't load quickly on mobile
- Vertical photos that don't display well in horizontal layouts
How to Fix It:
- Test your photos on mobile devices
- Use bright, high-contrast photos
- Optimize file sizes for fast mobile loading
- Use horizontal orientation for most photos
- Ensure important details are visible on small screens
Mistake #9: Not Showing Scale
The Problem: Photos without reference points make it difficult for tenants to judge room size and space.
Scale Issues:
- Empty rooms with no furniture for reference
- Close-up shots that don't show room size
- Photos taken from unusual angles
- Missing standard reference points (doors, windows, furniture)
How to Fix It:
- Include furniture in photos to show scale
- Use standard reference points (doors, windows, ceilings)
- Take wide shots that show room dimensions
- Include people in photos when appropriate
- Use captions to describe room sizes
Mistake #10: Ignoring the Cover Photo
The Problem: Your cover photo is the first thing tenants see, so a poor cover photo can kill your listing's performance.
Cover Photo Mistakes:
- Using a photo that doesn't represent the property well
- Poor lighting or composition in the cover photo
- Using a vertical photo for a horizontal slot
- Including distracting or unappealing elements
How to Fix It:
- Choose your best, most appealing photo
- Use horizontal orientation for cover photos
- Ensure the photo is bright and well-lit
- Show the most important or attractive feature
- Test different cover photos to see which performs best
How to Fix All These Mistakes
The easiest way to fix most photo mistakes is to use AI photo enhancement. Our service automatically:
- Brightens dark photos without overexposing bright areas
- Corrects color balance to remove yellow/orange tints
- Enhances clarity and sharpness for professional results
- Ensures consistent quality across all your photos
- Maintains natural, realistic results - no fake effects
Cost Comparison:
- Professional photographer: $200-500 per property
- AI photo enhancement: $29 for up to 100 photos
- Savings: 90%+ cost reduction
Getting Started
Ready to fix your rental photo mistakes? Here's your action plan:
- Audit your current photos - Identify which mistakes you're making
- Prepare your property - Clean, declutter, and stage spaces
- Take new photos - Use the techniques outlined above
- Enhance with AI - Upload photos for professional enhancement
- Update your listings - Replace old photos with enhanced ones
- Monitor performance - Track improvements in views and bookings
Try Photo Enhancement Free5 photos free • No credit card required
Related Services
Looking for more ways to improve your rental property performance?